Free Pattern for Lemon Stitch Marker made of Cernit Modelling Clay
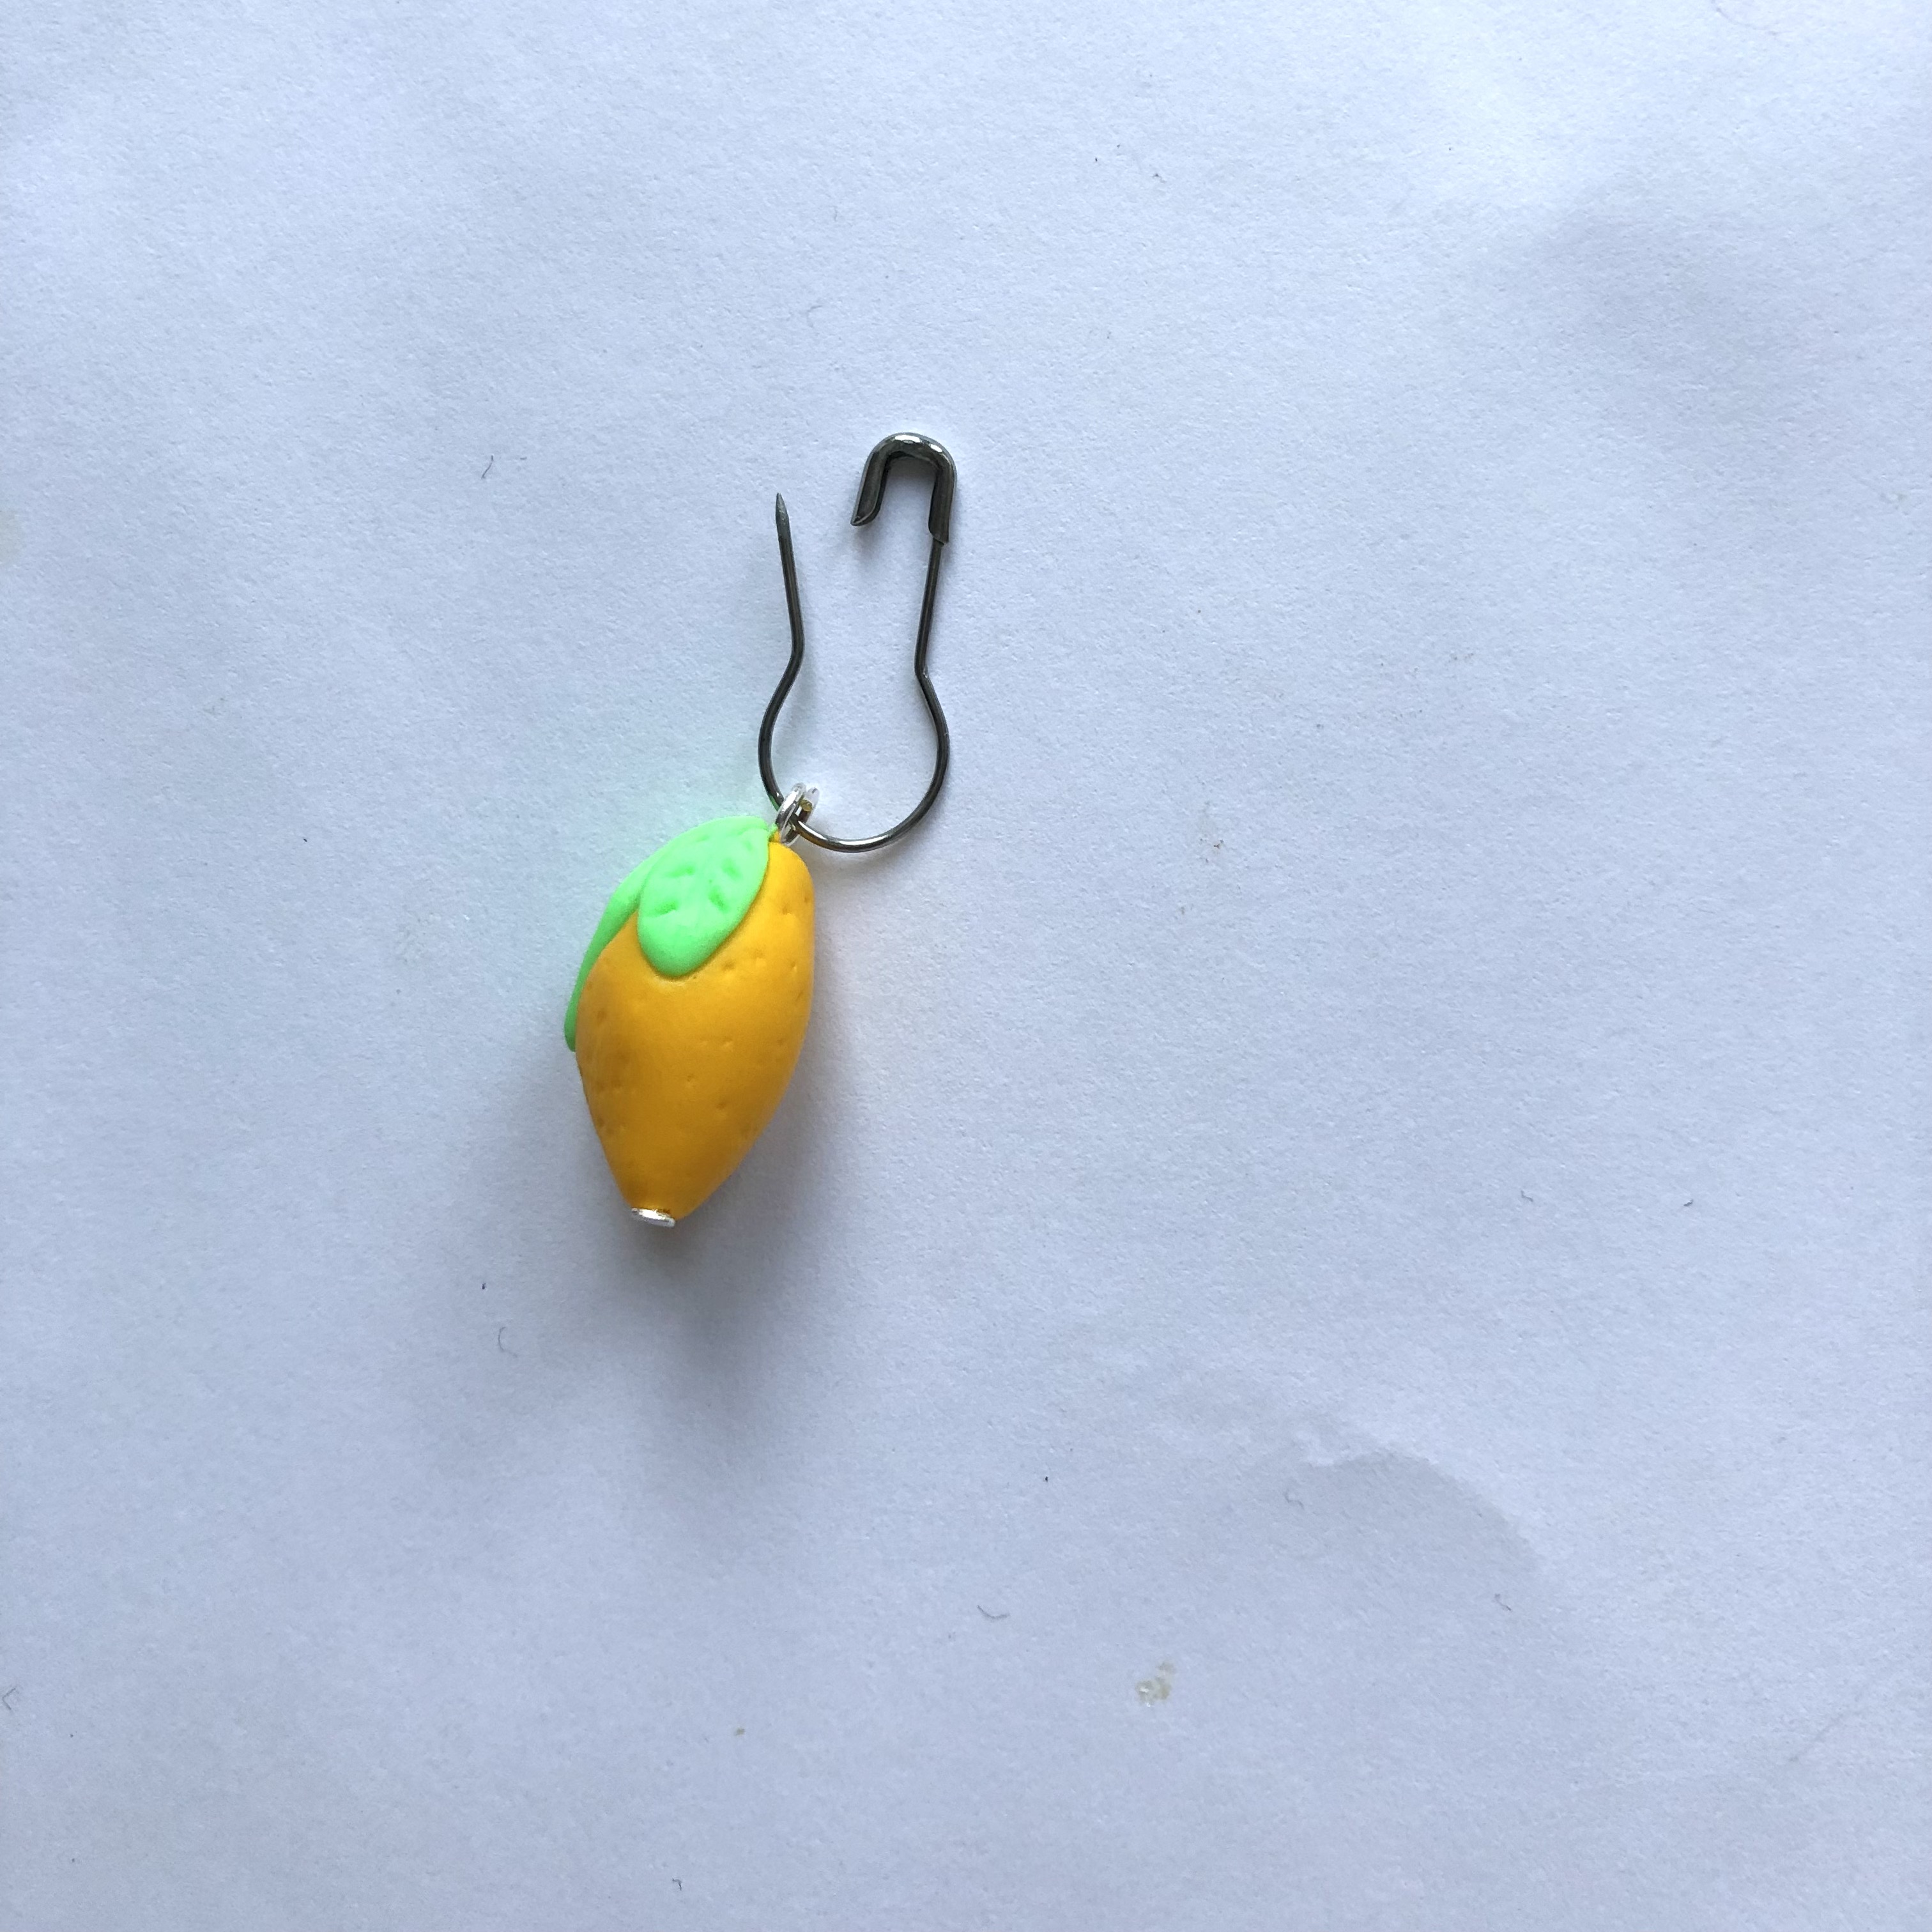
A stitch marker is a handy knitting and crochet accessory that makes it easy to keep track of stitch counts when you're busy working with yarn. In this free pattern, we show you how to make your own lemon-shaped stitch marker. The lemon is made from Cernit modelling clay, which is shaped and then baked. The lemon is a fun way to make unique stitch markers that you can use over and over again.
You can also read how to make coffee cup shaped stitch markers in our free pattern for a coffee cup stitch marker made from Cernit Modelling clay.
Can't get enough of modelling clay either? In our free pattern for bowls of cernit modelling clay, where we show you how to make whimsical as well as colourful bowls of the material.
Materials:
- Cernit Modelling Clay Unicolor
- 1 head pin L: 50 mm, silver plated
- 1 needle, slightly thicker than the head pin
- 1 metal stitch marker
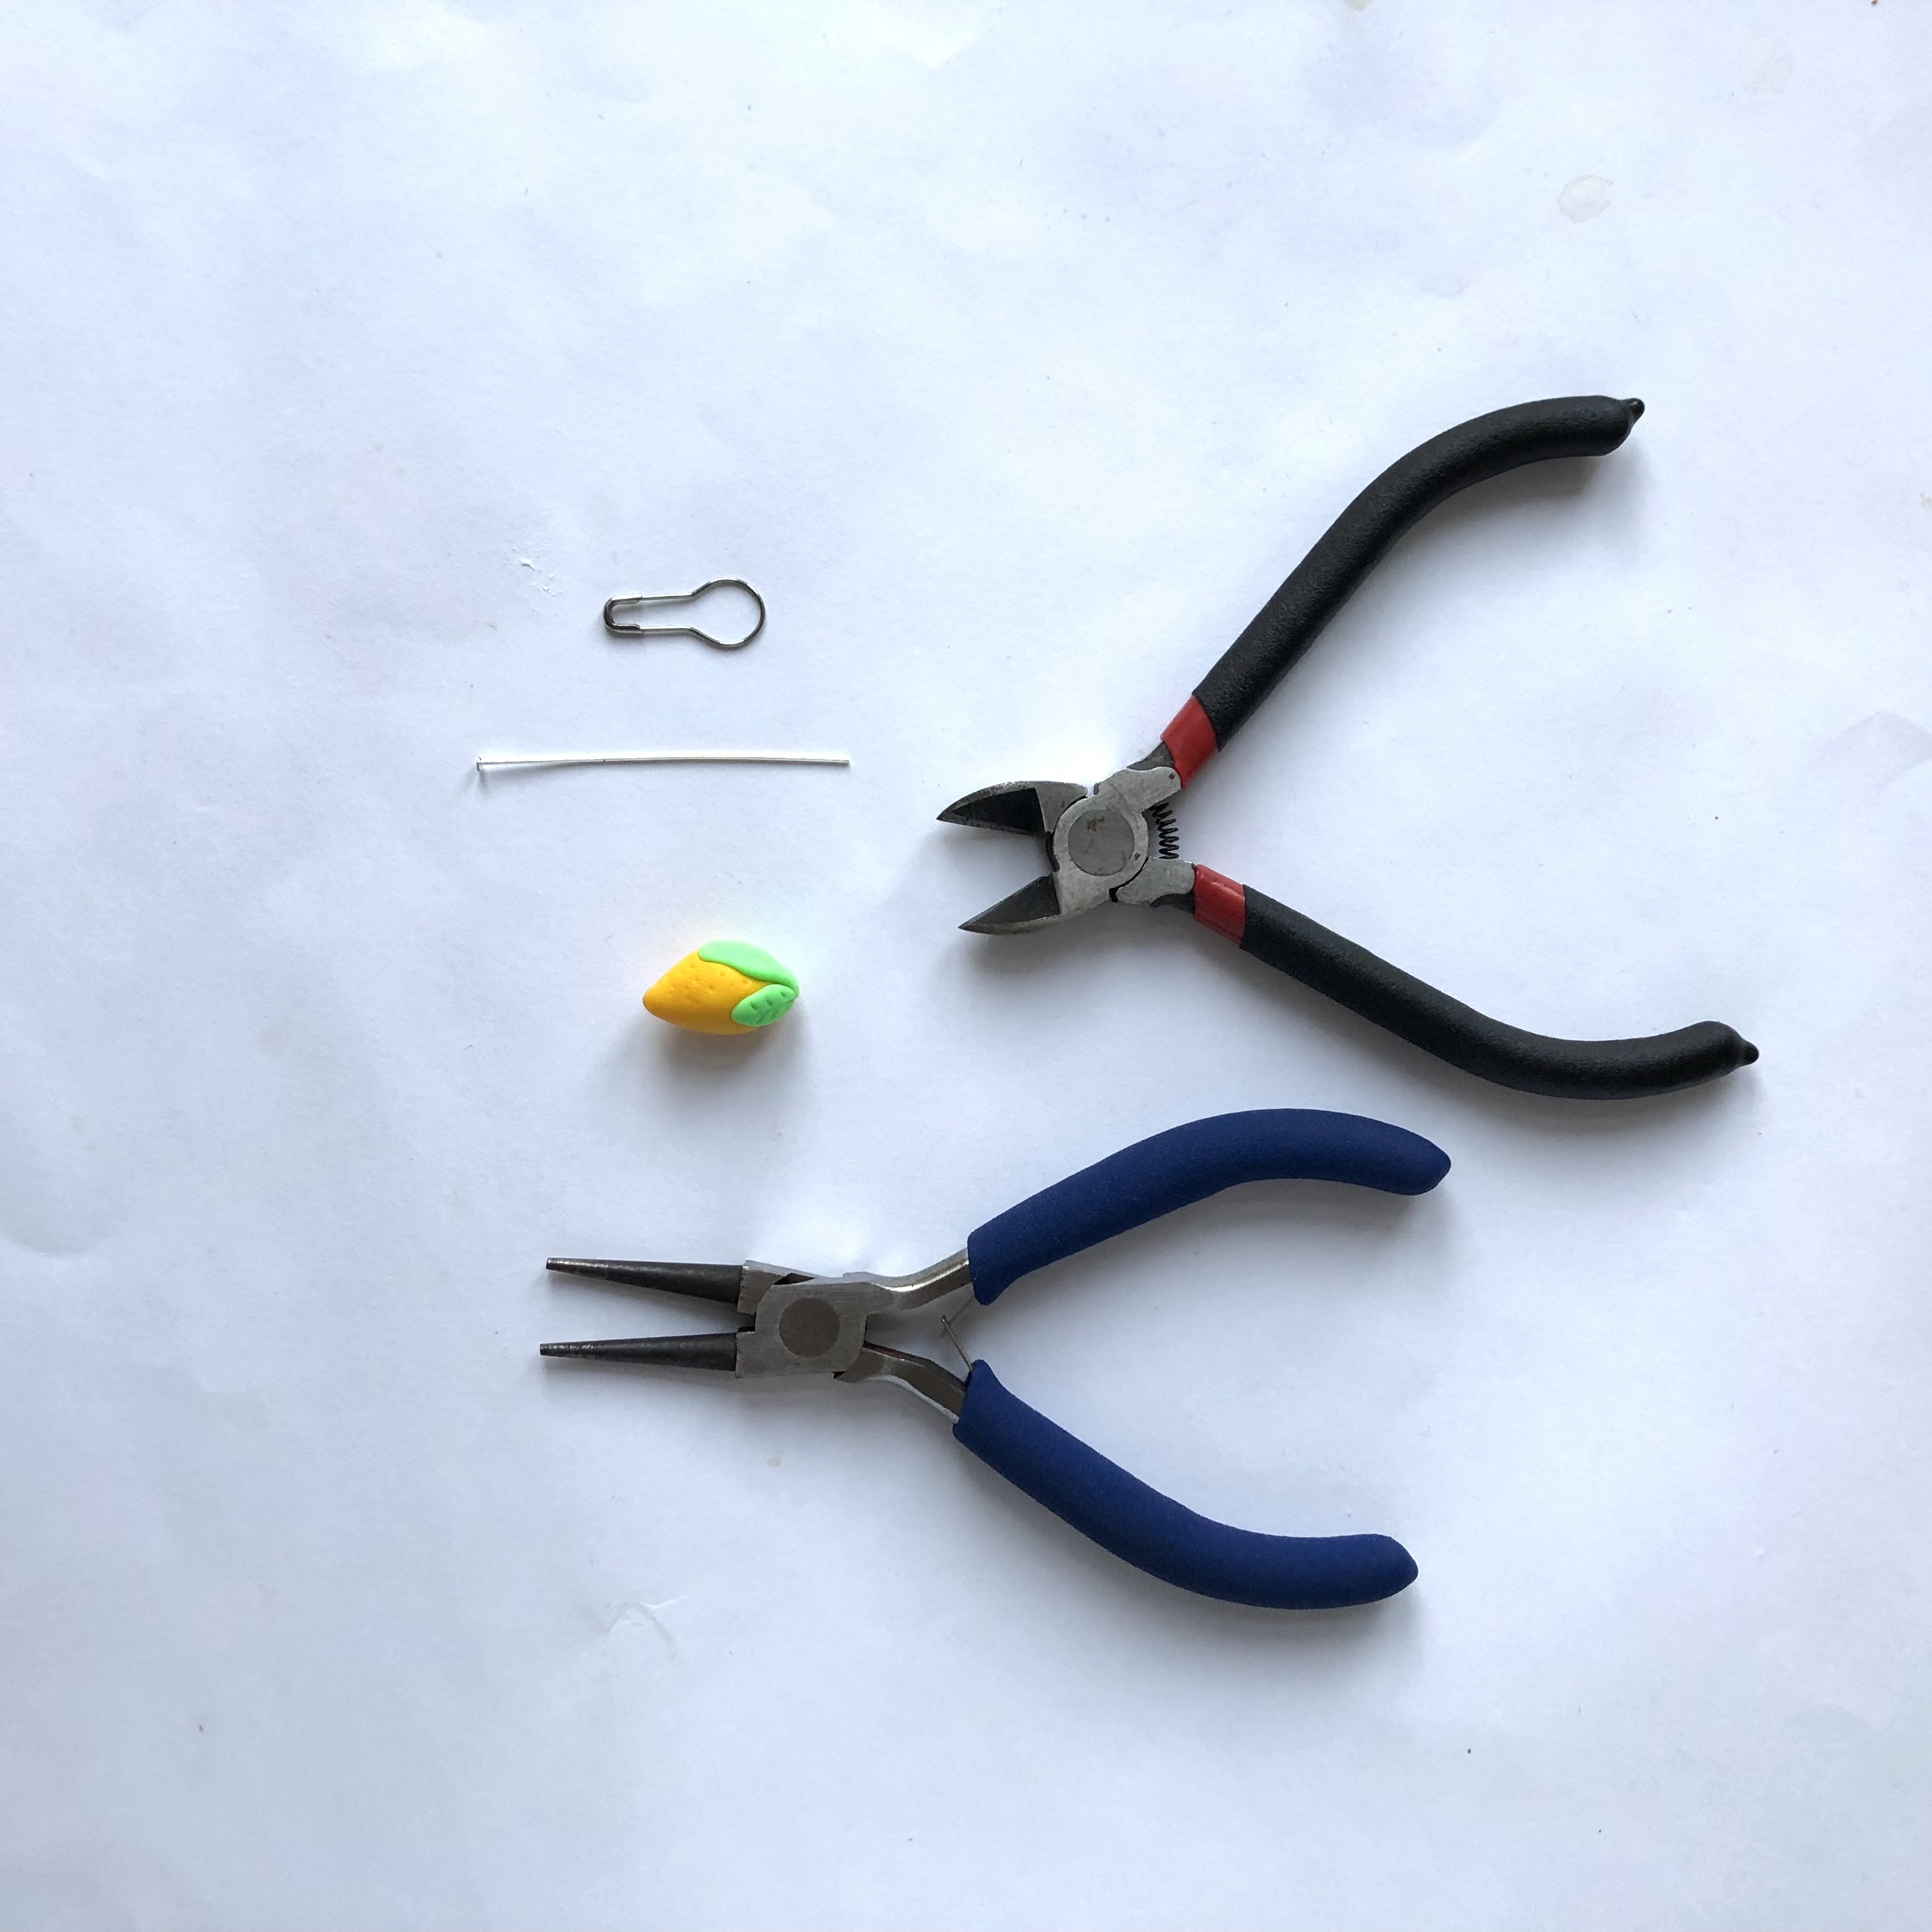
Tools:
- Modelling sticks or other tools to create texture and pattern
- Round-nosed pliers
- Side cutter
- Optionally, this set of basic jewellery-making tools can be used (includes round-nosed pliers, side cutter, etc.).
Model clay consumption:
- A small lump of yellow Cernit Modelling Clay Unicolor 021 Yellow 56g (the size you want the lemon in)
- A small lump of green Cernit Modelling Clay Unicolor 019 Light green 56g
Technique guide
MAKE THE HOLE BEFORE BAKING THE LEMON:
In the video you can see how to stick the needle through and 'wiggle' it:
FINISH THE LEMON AFTER BAKING:
In the video you can see how to fold the head pin around:
Intructions
Cernit needs to be "warmed up" by pressing it, so this should be done with both lumps (separately):

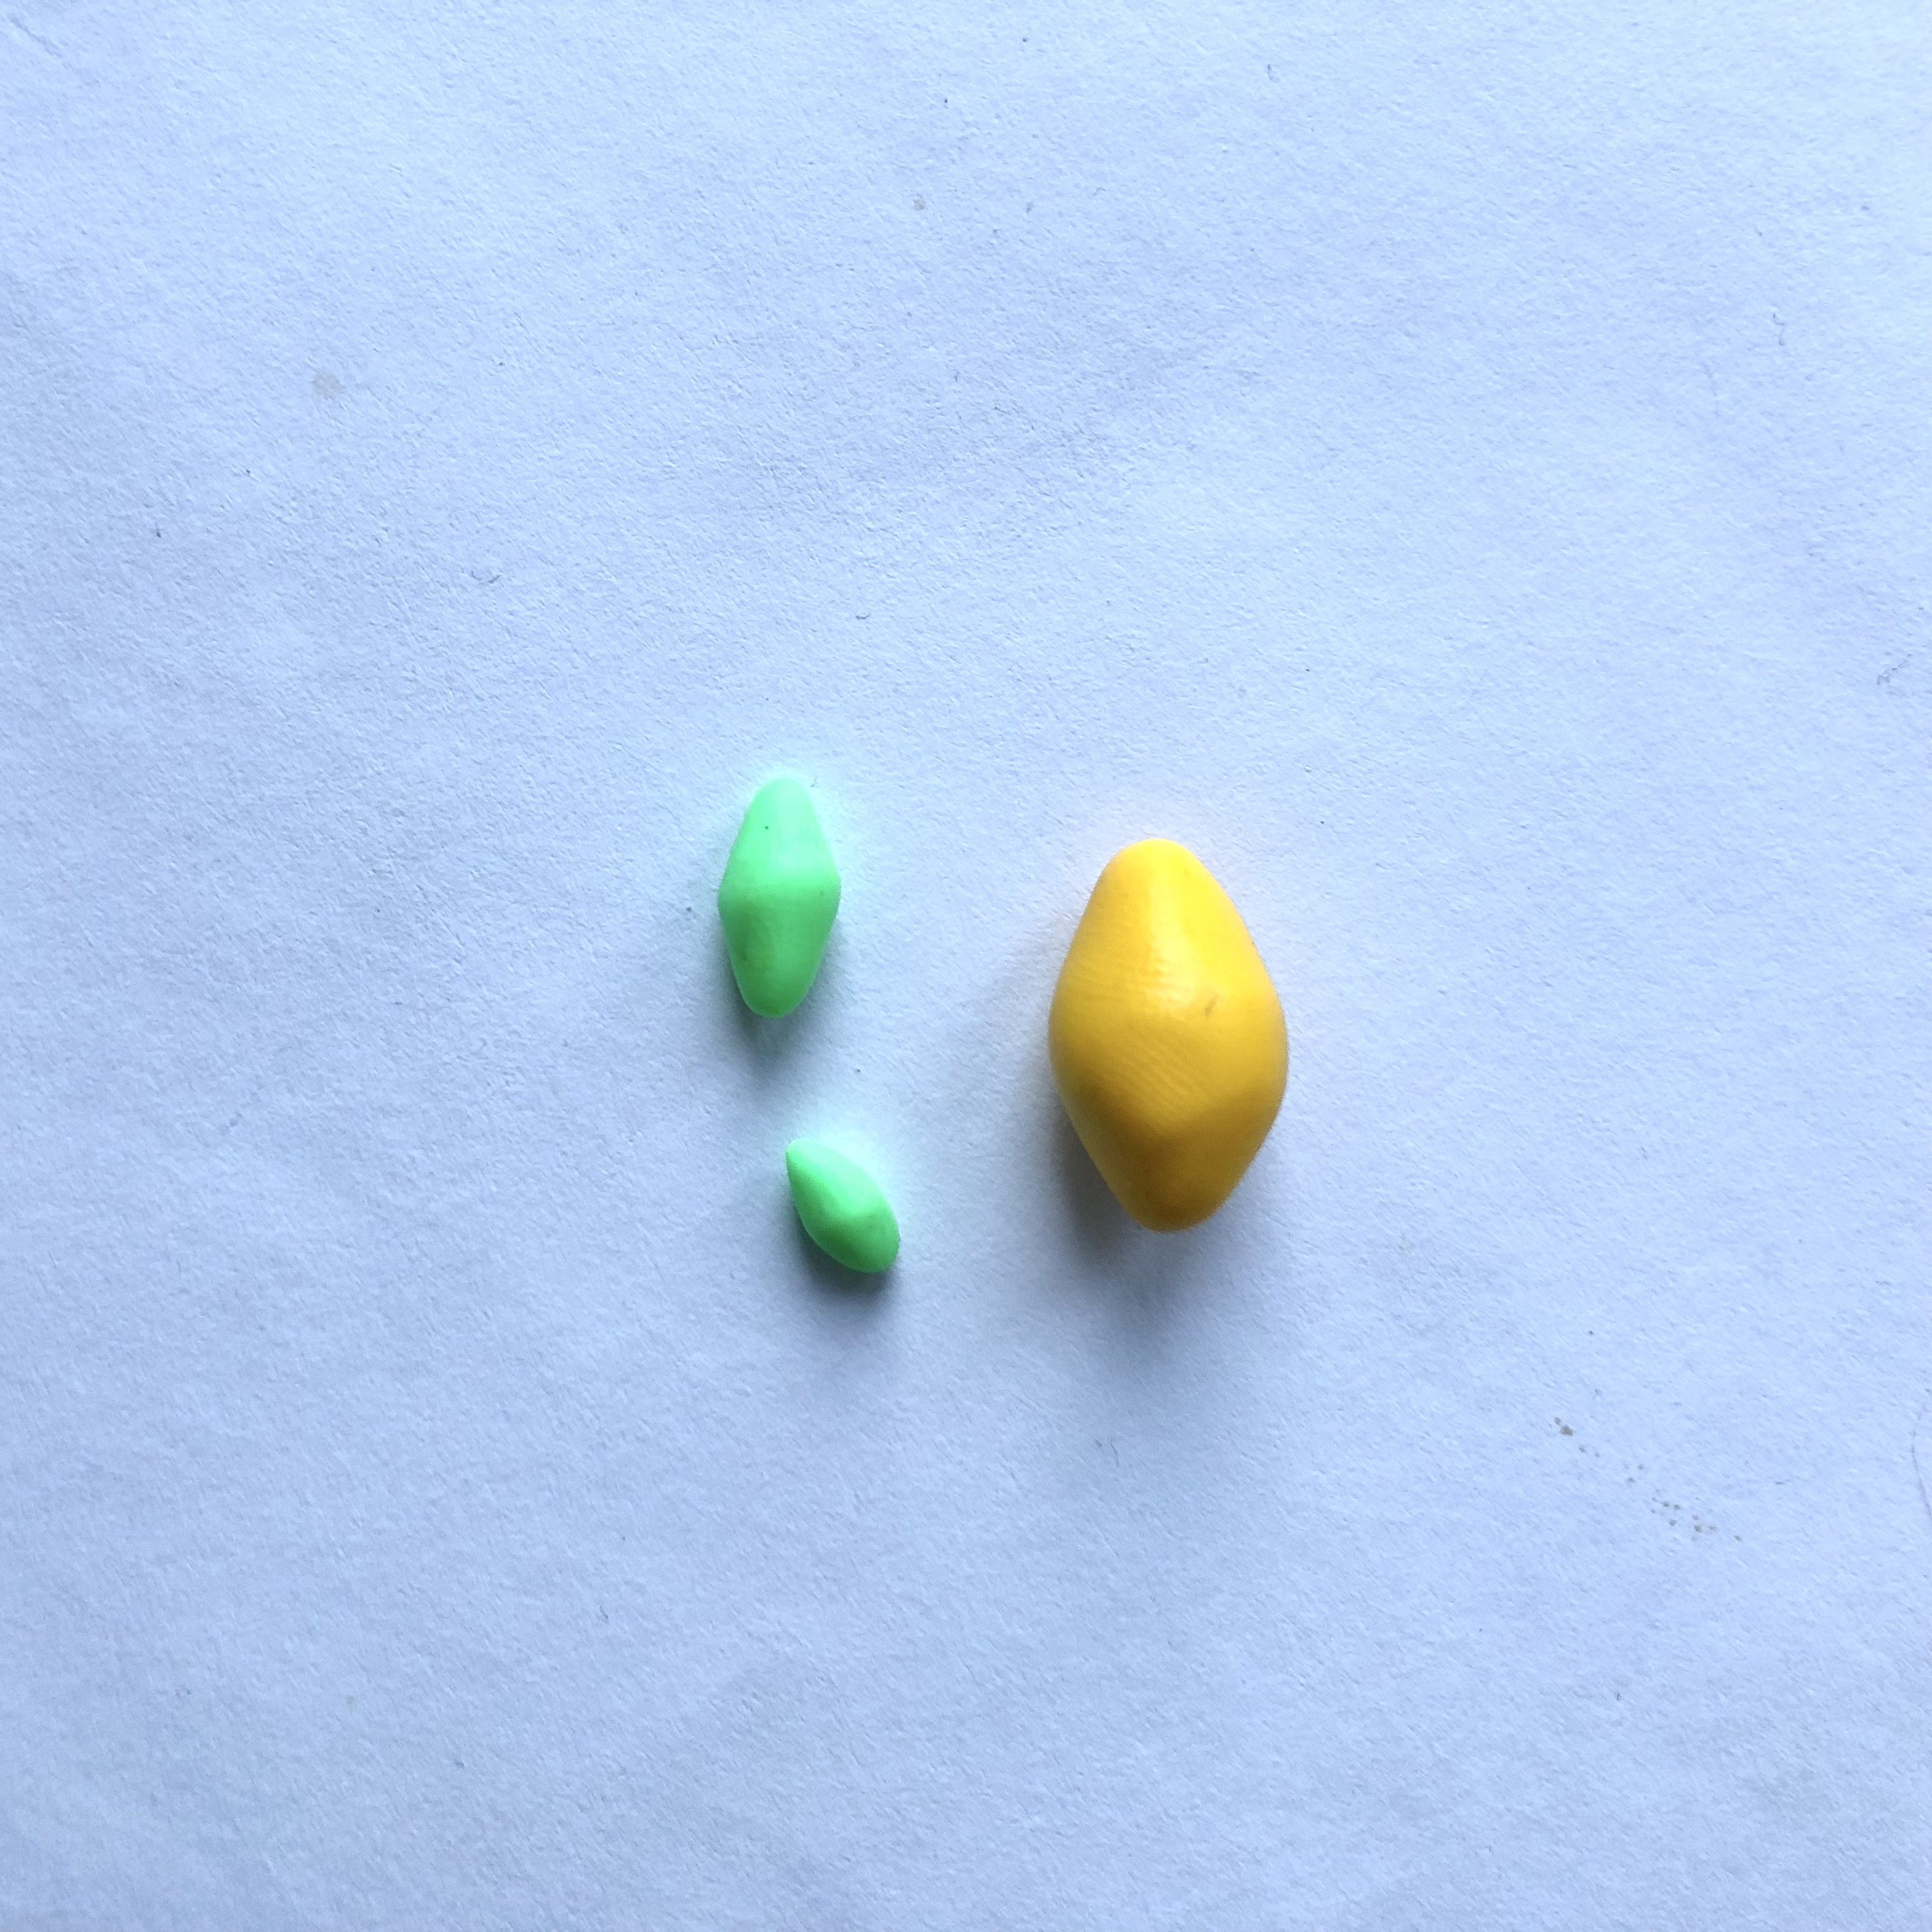
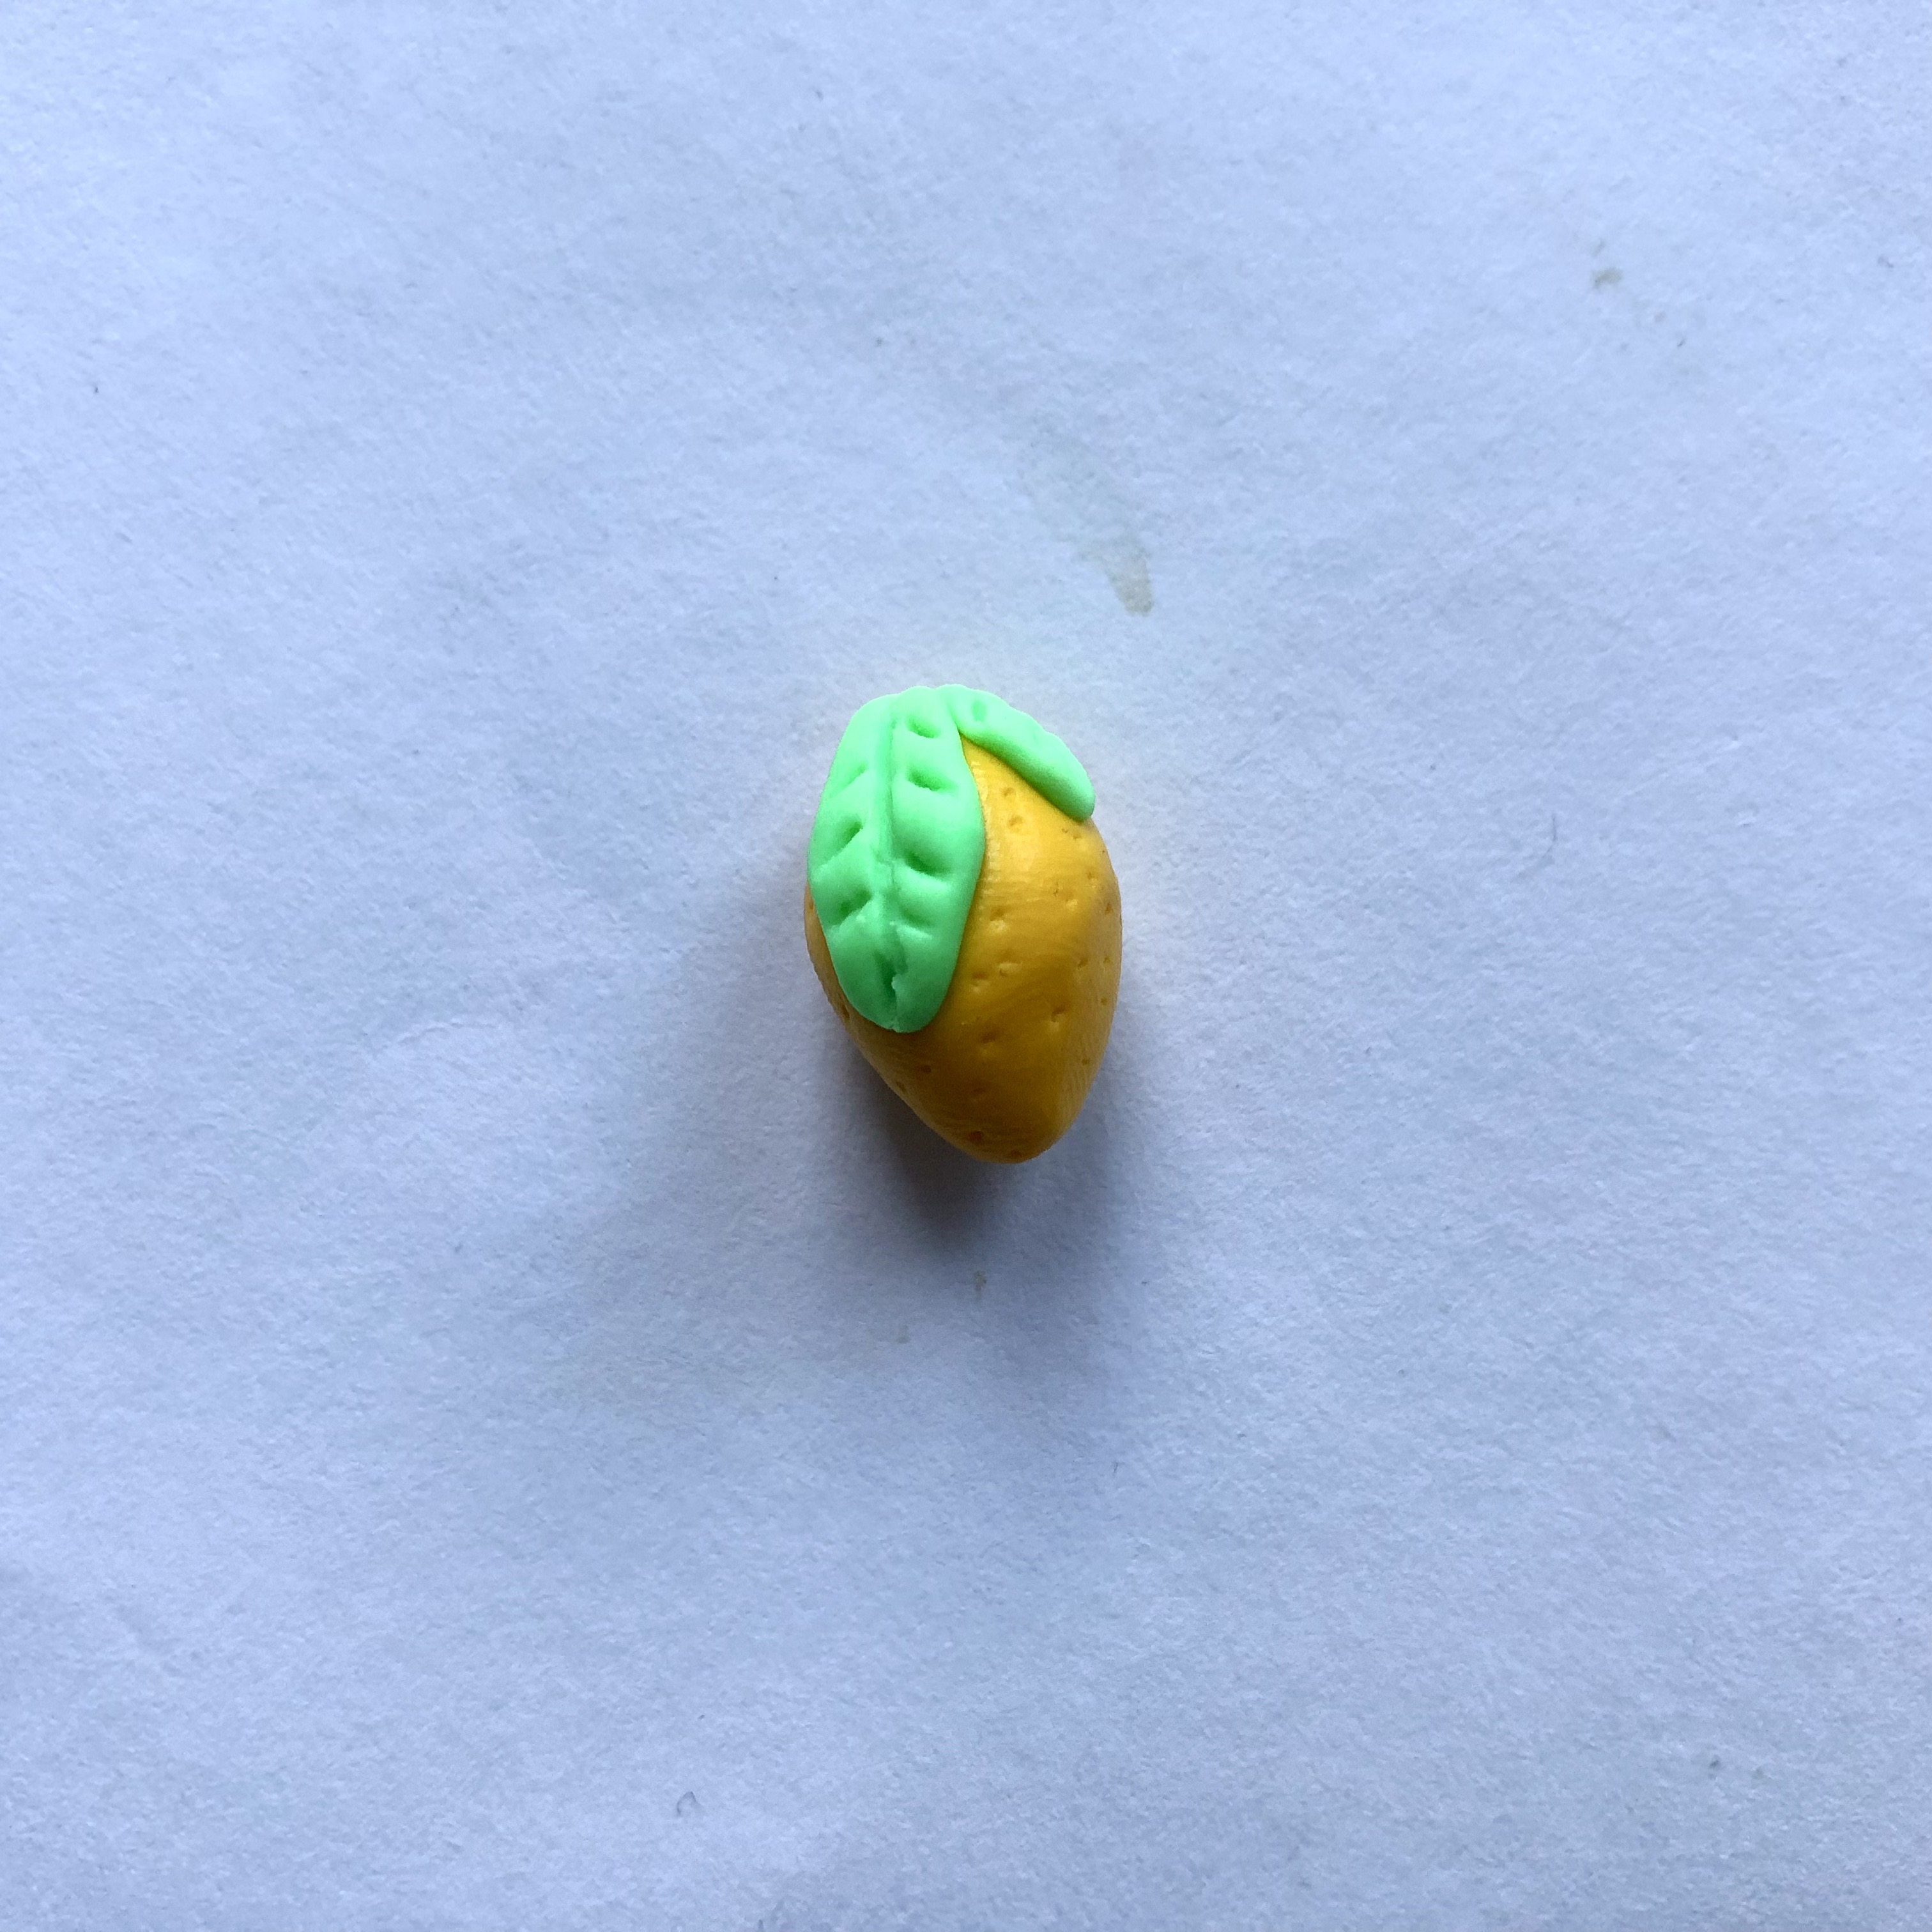
When the cernit is soft and can be modelled with, roll the yellow lump by hand. First roll it into a ball and then roll it a little more pointed at the ends until it has the desired shape.
Divide the green lump in two, one part being about half the size of the other. Roll both lumps in the same way as the yellow lump; round and then slightly taper at the ends. Now press them flat, giving them the 'leaf' shape:
Now the leaves have to be attached to the lemon. This is done by pressing while gently wiggling from side to side. A leaf pattern must also be drawn in, which also helps to attach them:
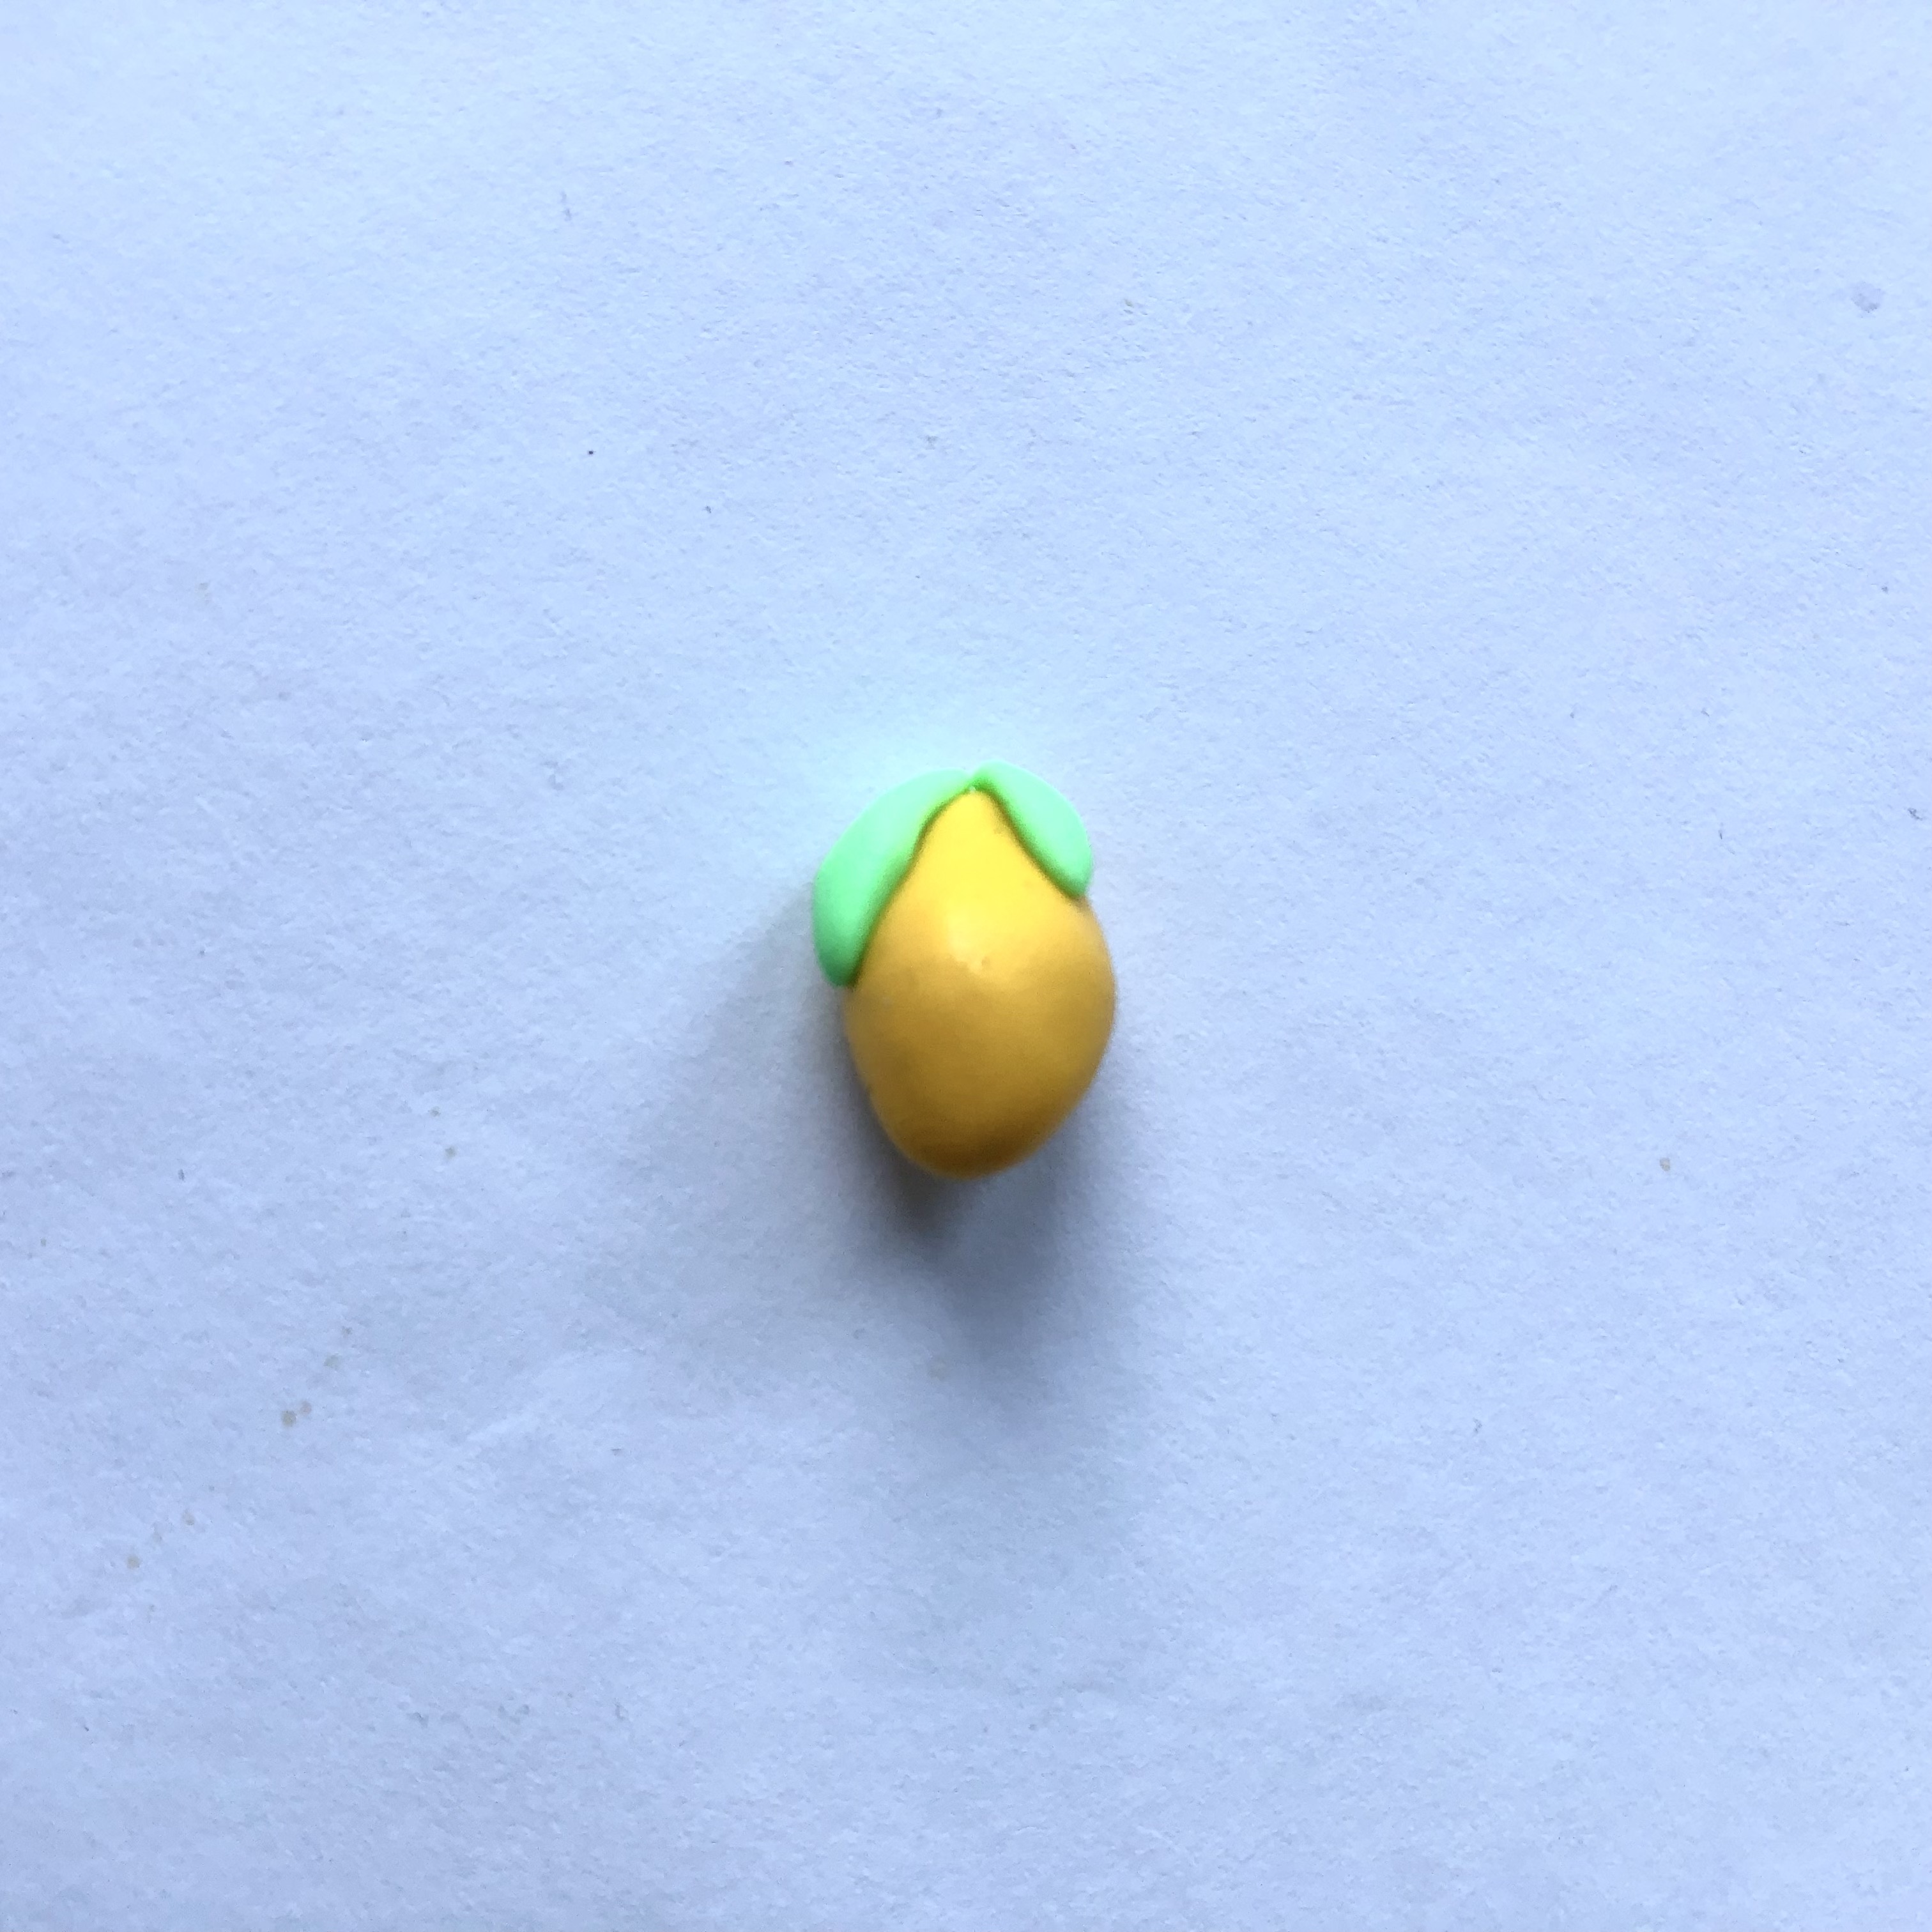
The leaf pattern consists of a line down the center of the leaves, and about three smaller lines diagonally out to each side in a herringbone pattern. The pattern can be made, for example, with the modelling stick shaped like a "knife" with a wooden blade, or a similar "drawing tool" if you have one.
With the same tool, poke small holes in the yellow part of the lemon, to give the effect of a real lemon peel. The dots are placed randomly around the lemon, a few millimetres apart.
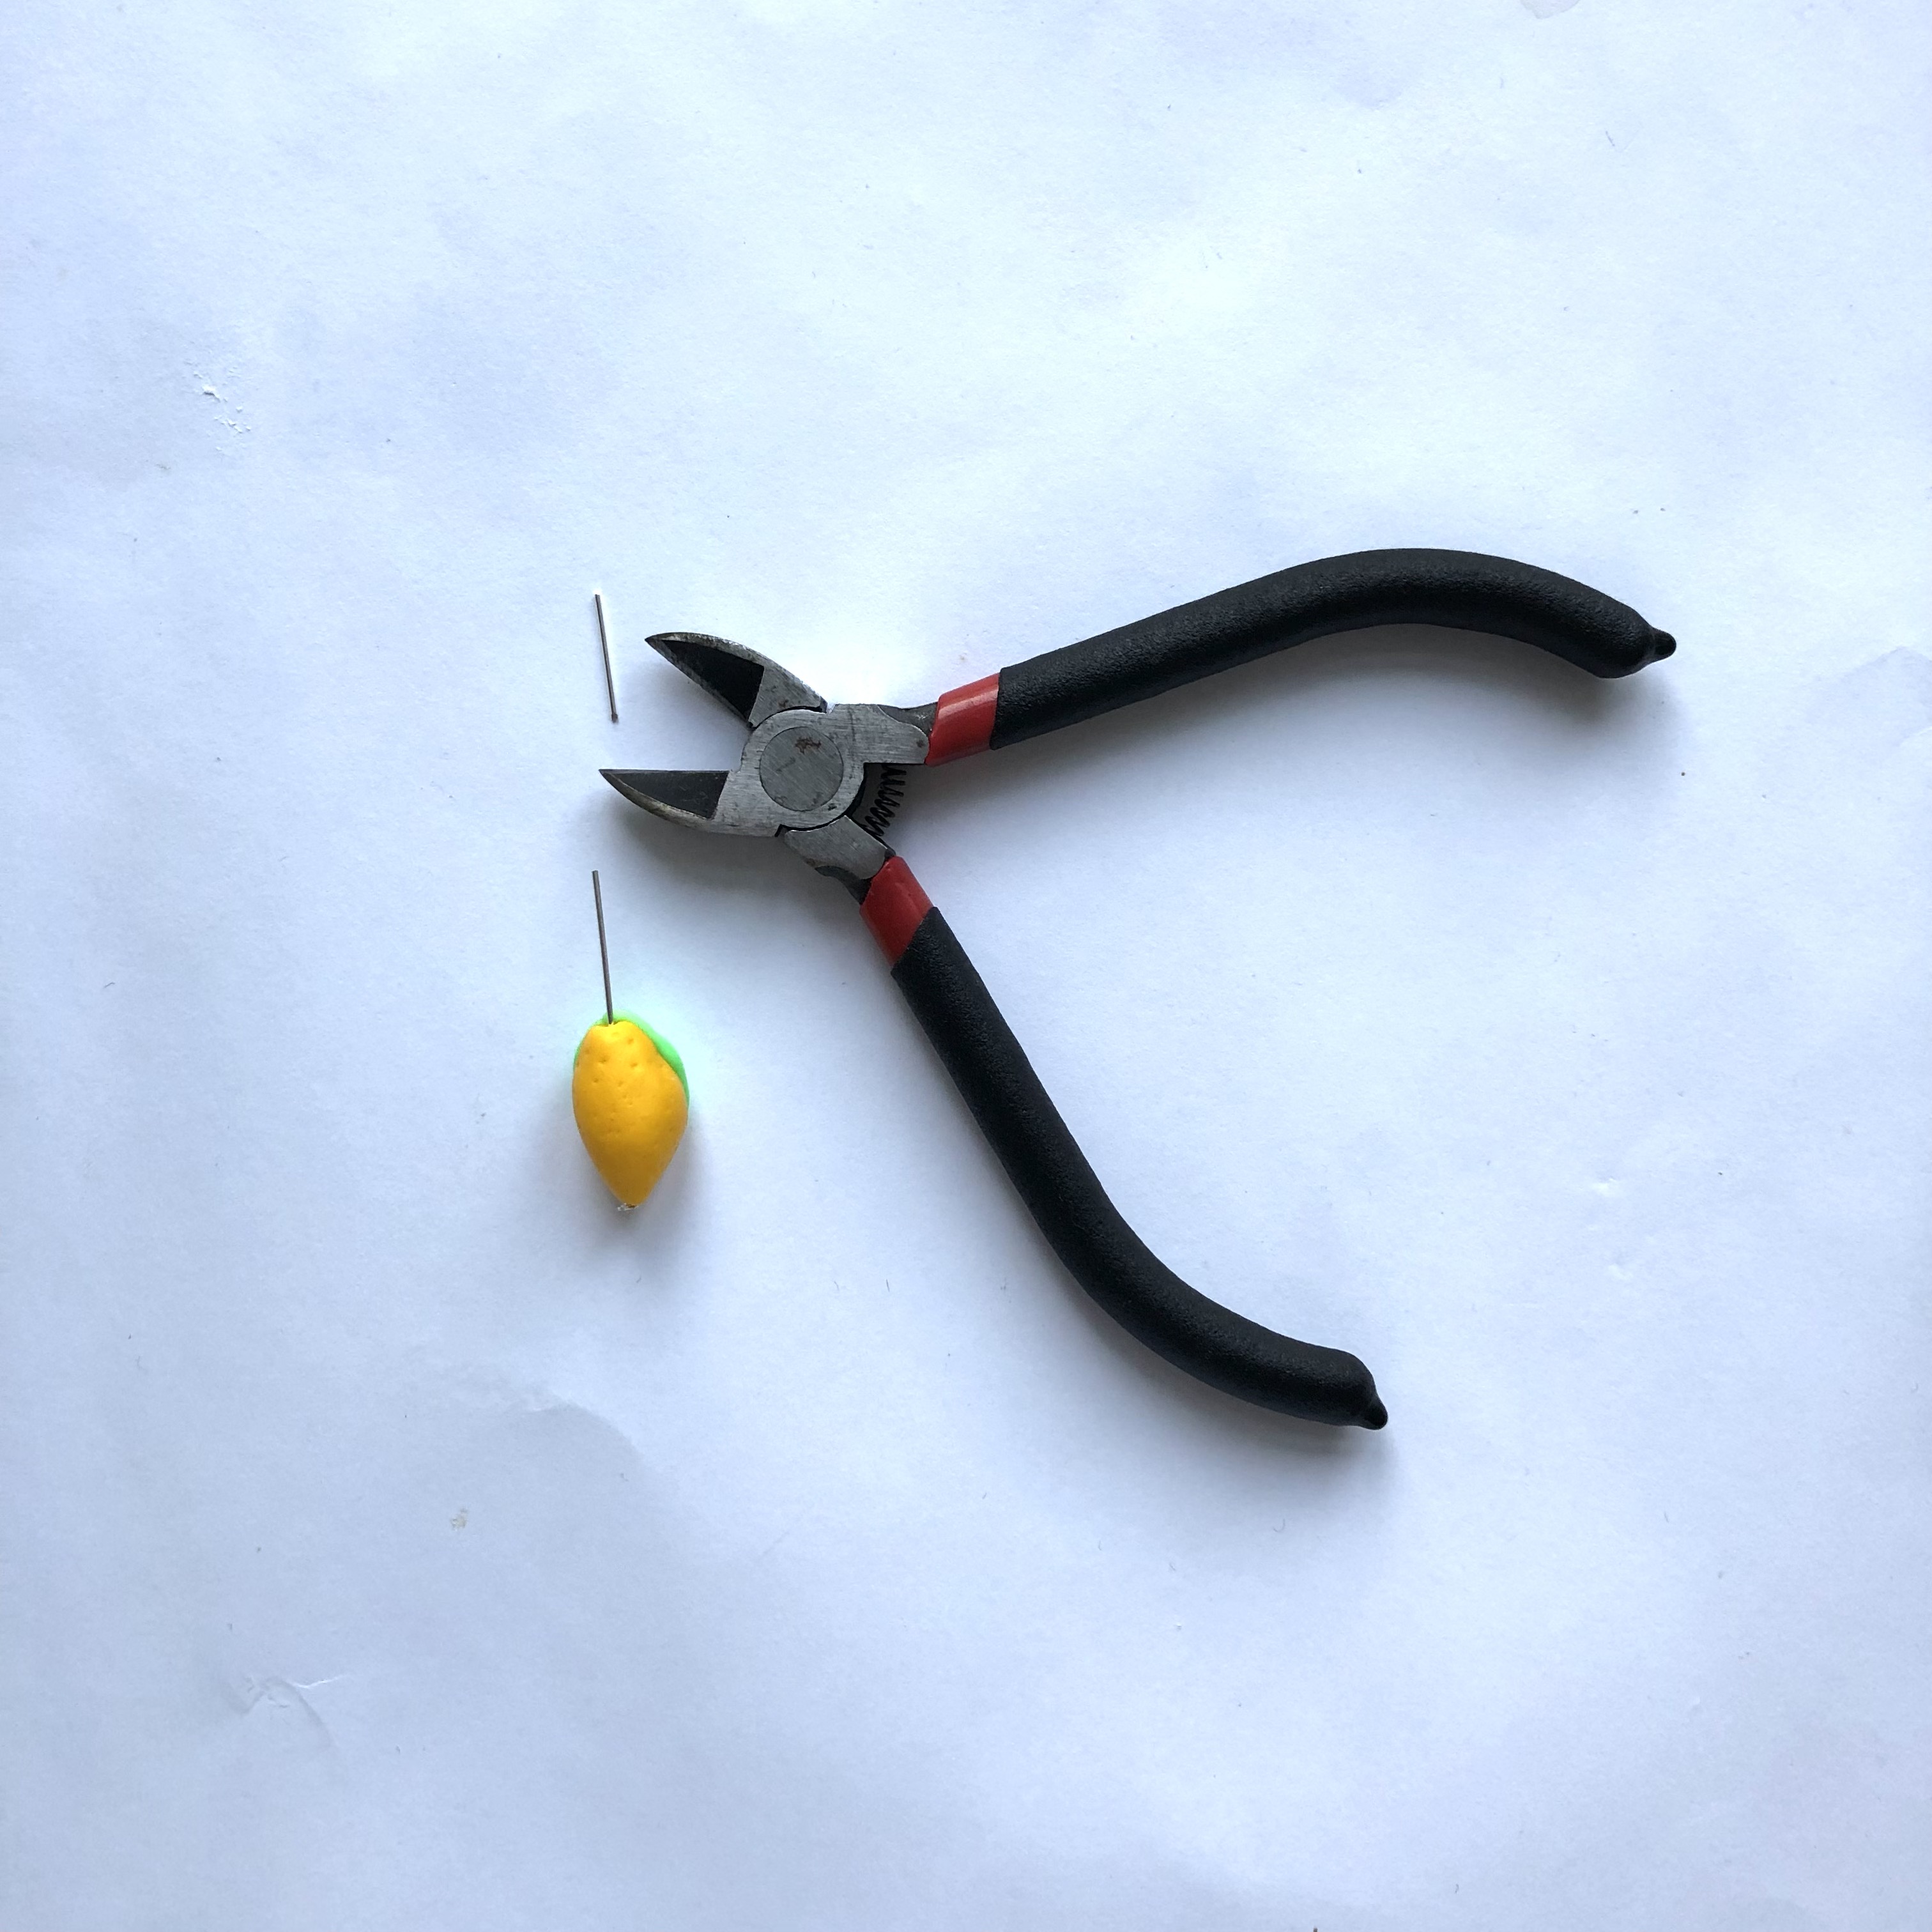
Once the lemon is shaped and decorated, make a hole across it from the top to the bottom. Carefully insert a needle and push it through while twisting it. Once the needle is all the way through, gently wiggle it around to make sure the hole is big enough. The hole will not shrink when burned.
If necessary, smooth the edges of the hole gently. If you have broken the shape of the lemon, gently press it back into shape.

BAKING:
Now bake the lemon.
It is advisable to make a few stitch markers to optimise energy consumption.
You can read the baking time and temperature on the cernit packaging.
FINISHING:
Once the lemon is baked and cooled, it needs to be made into a stitch marker.
To do this, pierce the lemon with a head pin, cut off so that a piece of about 1 cm sticks out. Fold the top around to form a loop.
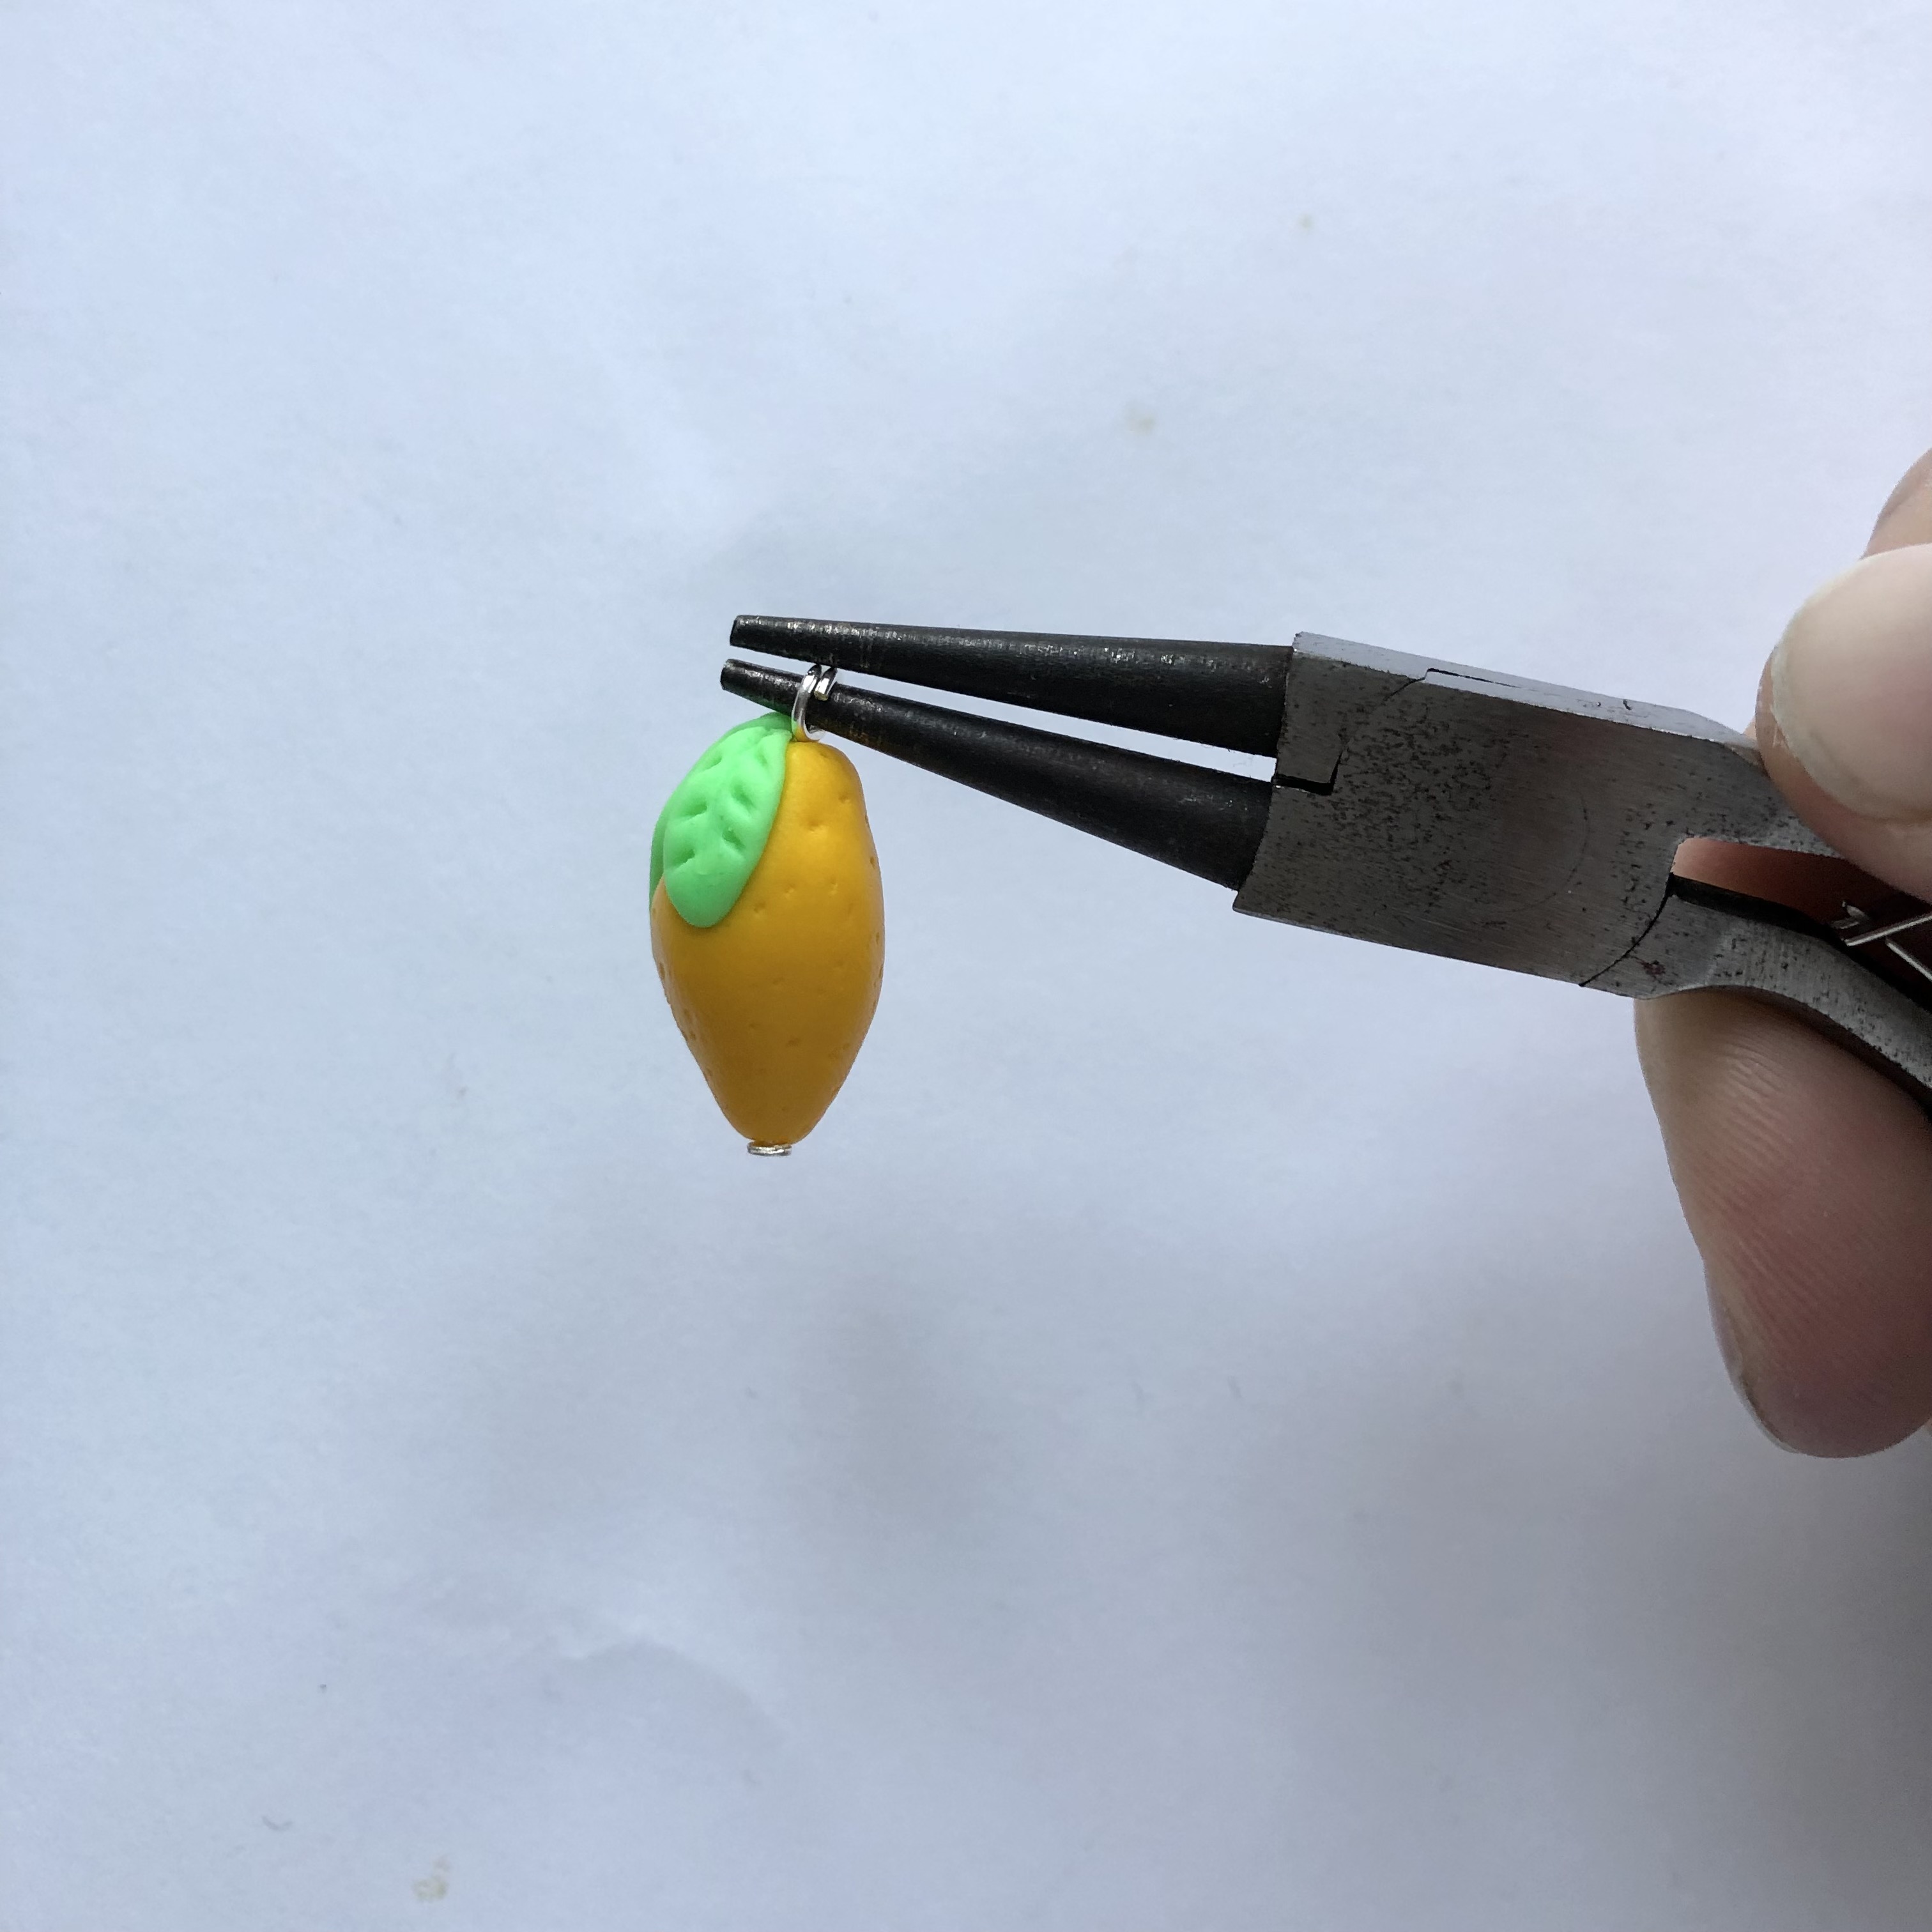
Finally, insert a metal stitch marker through the eye in the top. Your new favourite stitch marker is now complete.
Feel free to share your finished result on social media with @krea_lea and @ritohobby.co.uk and the hashtags #lemonstitchmarker #ritokrea
Designed by: @Krea_Lea på Instagram (Lea P. Hansen)
 Österreich
  Belgique
  Bosna i Hercegovina
  България
  Κύπρος
  Česká republika
  Danmark
  Eesti
Eesti  Føroyar
  Suomi
Suomi  France
  Deutschland
  Ελλάδα
  Kalaallit Nunaat
  Magyarország
  Ísland
  Ireland
  Italia
  Latvija
  Liechtenstein
  Lietuva
  Lëtzebuerg
  Malta
Malta  Isle of Man
  Nederland
  Norge
Norge  Polska
  Portugal
  România
  Slovensko
  Slovenija
  España
  Sverige
  Schweiz
  Ukraїna
  United Kingdom