Free pattern for festive Twisted Santa Scrunchie
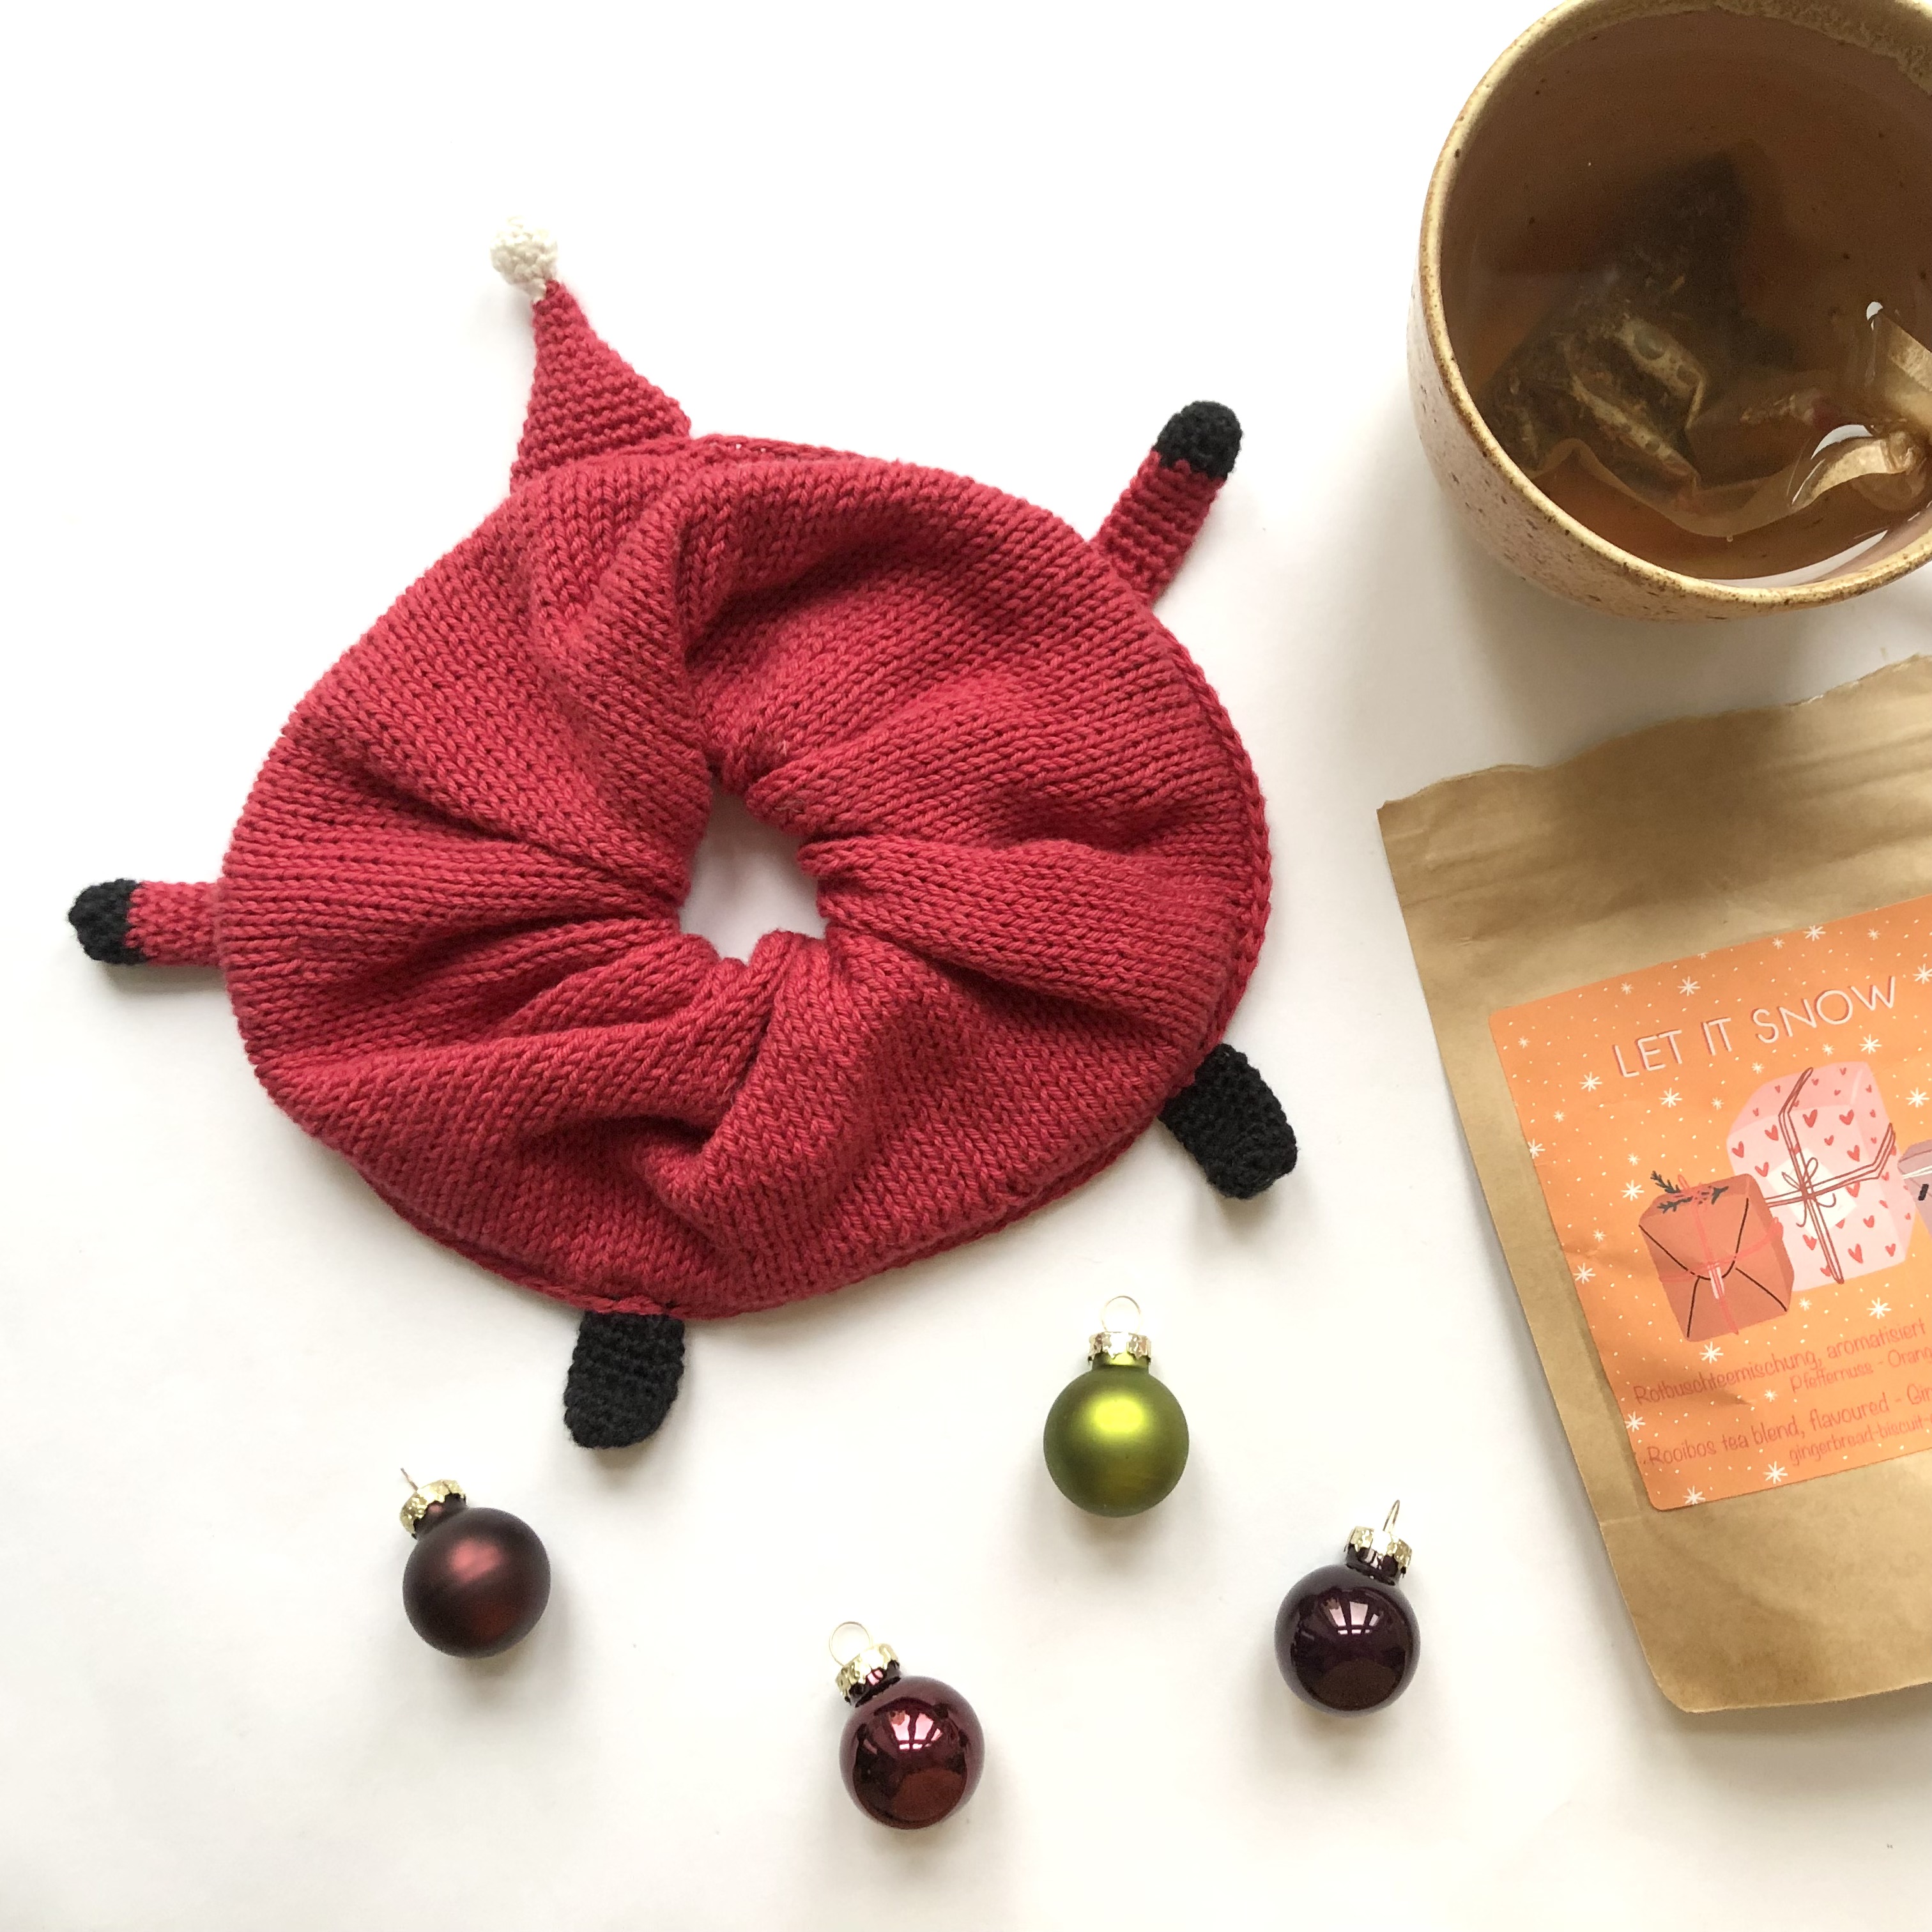
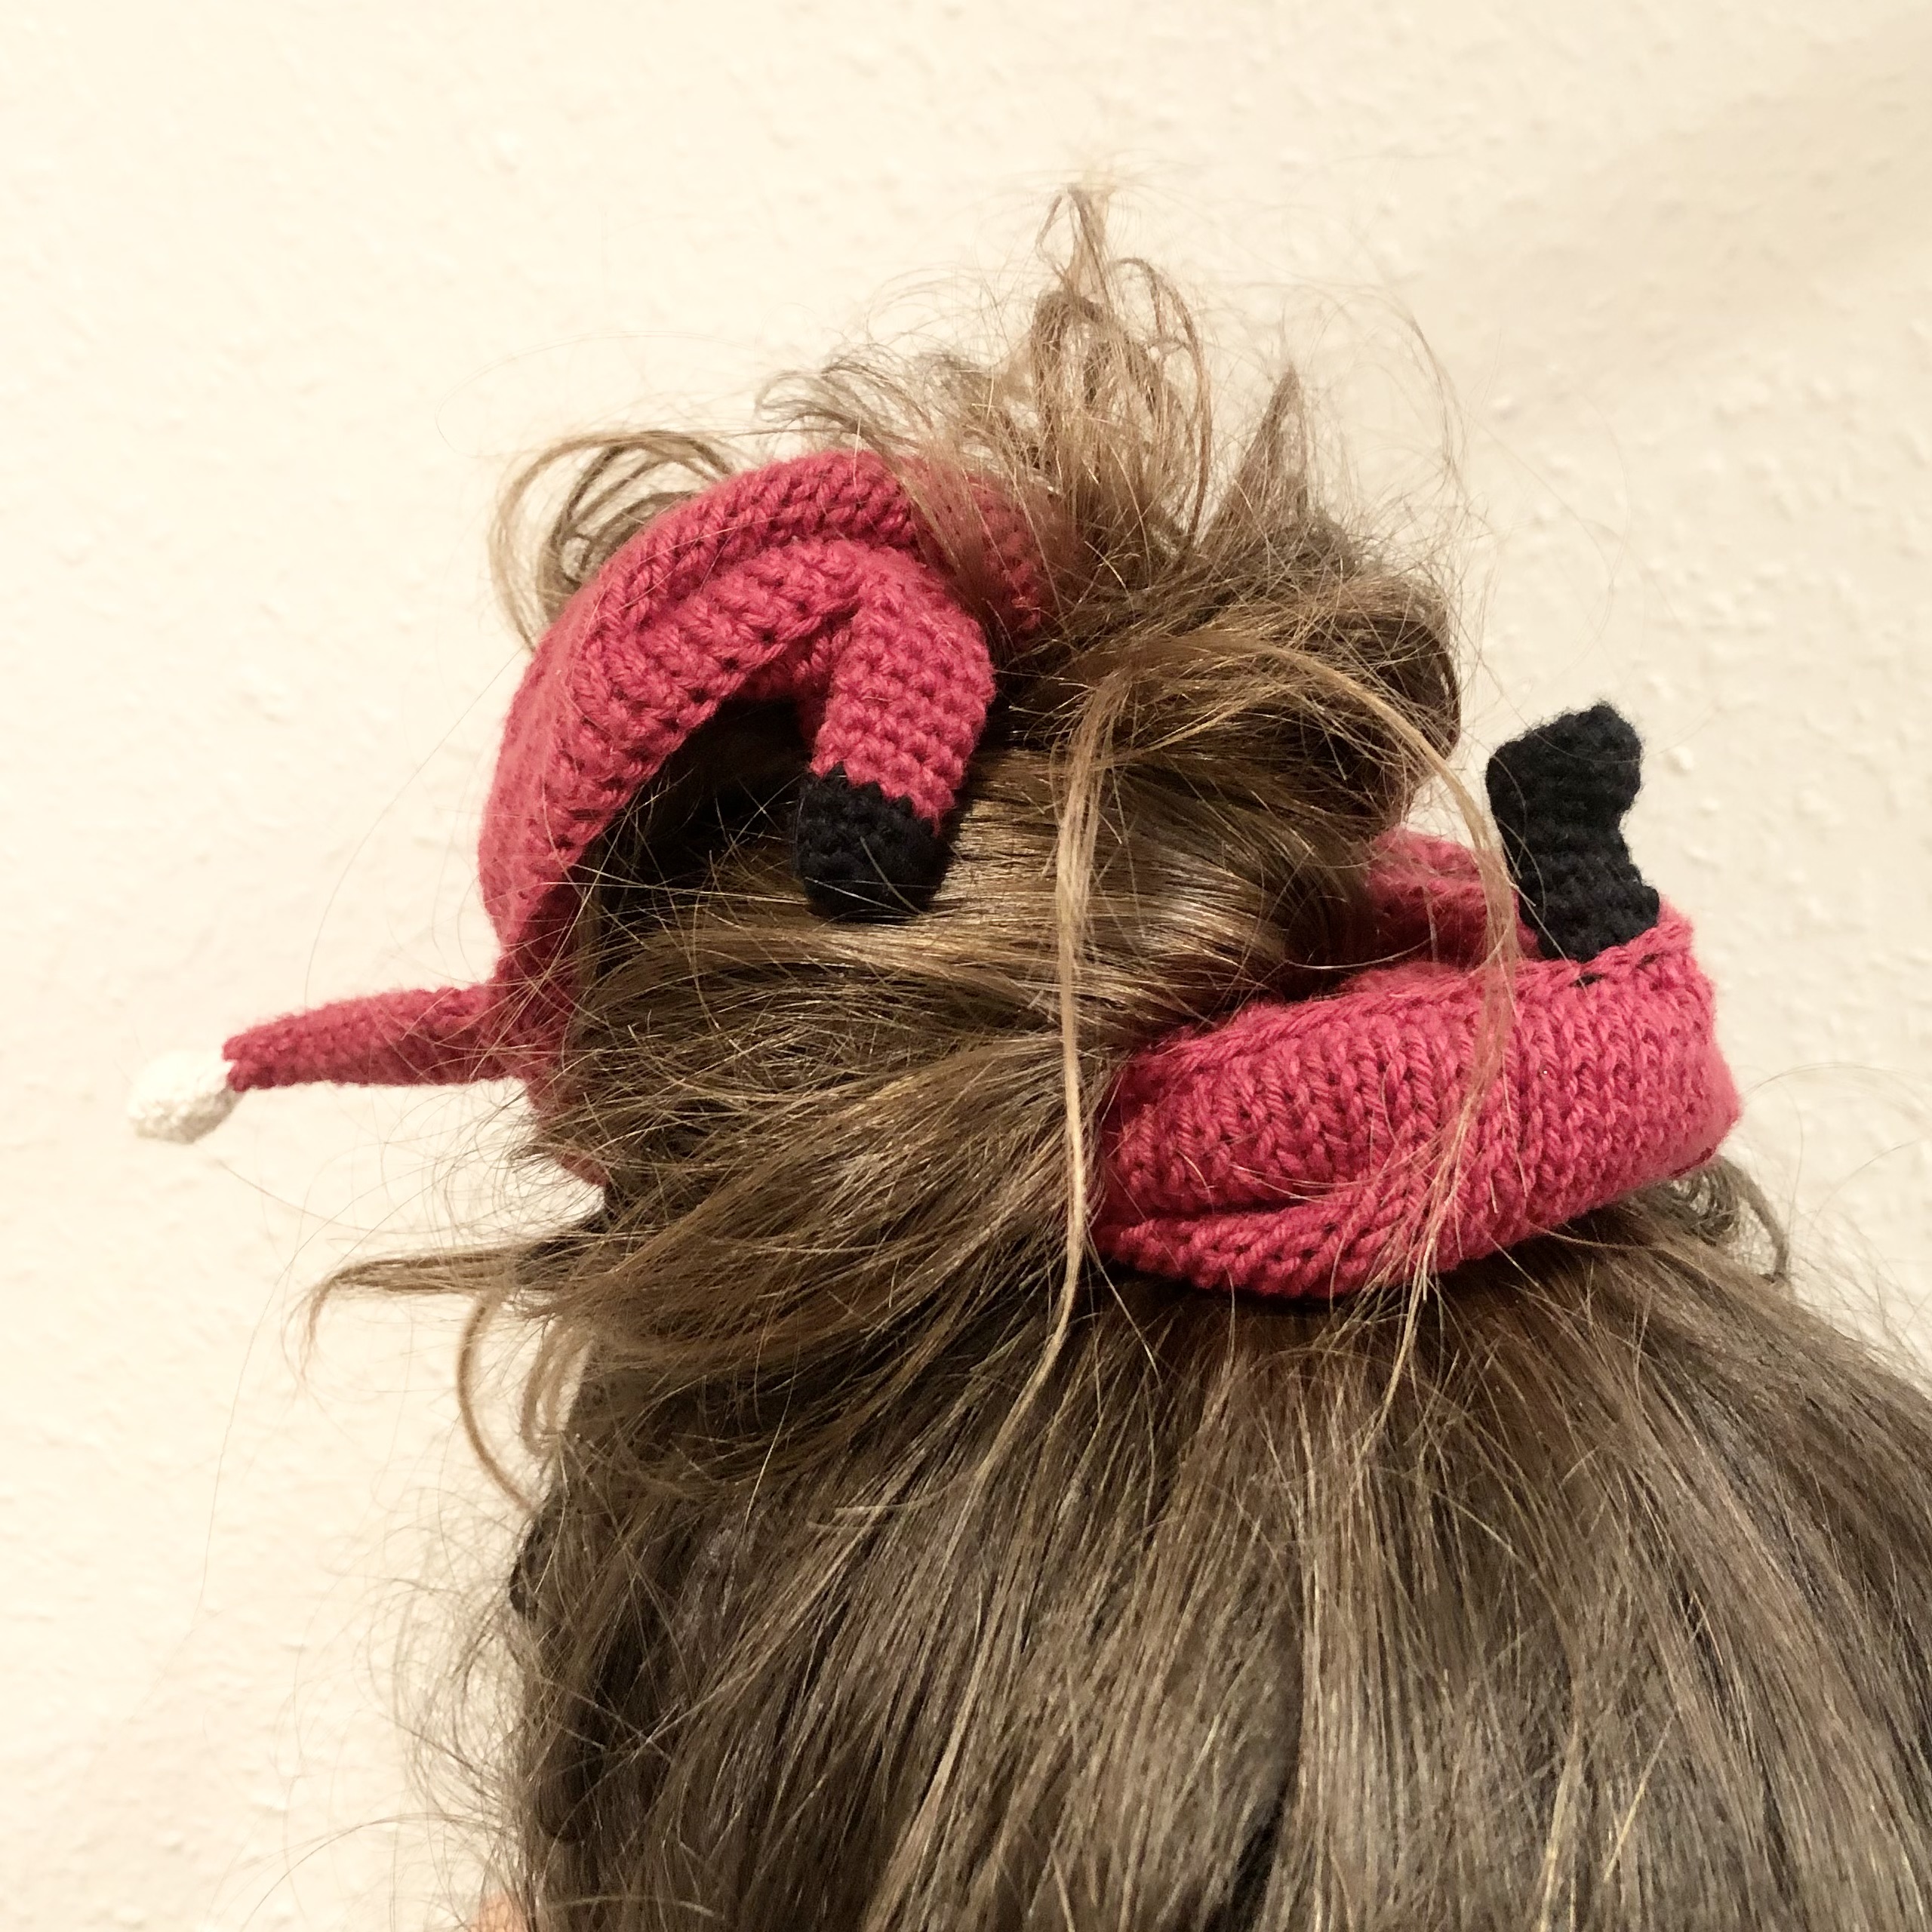
Here's a great idea for a cosy project you can make in the run up to Christmas, ready to add a little Christmas cheer to your hair on the big day. Alternatively, it can also be made as a small gift for the kids.
Materials:
- Yarn: Infinity Hearts Rose 8/4. Contains 100% cotton. 50 grams = approx. 176 metres
- Circular needle size 3.5 (40 cm)
- Crochet hook size 3.5
- Ordinary hair elastic without metal collection
- Needle for fastening ends
Yarn consumption:
Infinity Hearts Rose in colour 21 Dark red
- Infinity Hearts Rose in colour 01 Black
- Infinity Hearts Rose in colour 172 Natural
Abbreviations
s = stitch(s)
dc = double crochet(s)
sl = slip stitch(s)
mr = magic ring
inc = increase
ch = chain stitch
Tenichnique tutorial with video
How to work the edges together:
Instructions
Pattern for the scrunchie itself
Cast on 110 sts on circular needle size 3.5 mm in Dark red.
Work in stocking stitch around until piece measures 16 cm (can be worked shorter or longer as desired).
Close the edge.
Now you need to insert the elastic and close the scrunchie. To do this, turn the right side of the piece inwards and put the hair elastic around it. Then fold the piece around the elastic so that the cast-on edge comes up to lie at the cast-off edge. Now you have the right side out and the elastic is inside the piece.
Now work the cast-on edge together with the cast-off edge. See technique instructions above.
Pattern for the elf's body parts
Arms (2 to be worked):
Start in black
1. round: 6 dc in mr
2. round: (1 dc, 1 inc) x3
3.-4. round: dc in all sts
Change to red
5.-11. round: dc in all sts
12. round: Pinch piece together and make 3 dc across to finish arm. Finish with a sl. Leave a long yarn end to sew the arms on.
Legs (2 to be worked):
Work in black
1. round: work 5 ch, turn and make a dc in 2nd st from hook, dc in next 2 sts, 3 dc in next st, dc in next 2 sts, 2 dc in last st (which was also first st). Now you are ready to start working around. (11)
2. round: inc, 2 dc, inc, 1 dc, inc, 2 dc, inc, 1 dc (15)
3. round: dc in all sts (15)
4. round: dc in next 4 sts, (decrease) x 3, dc in next 5 sts (12)
5.-7. round: Dc in all sts
8. round: 10 dc, pinch together and work 4 dc across (make sure it matches the direction of the foot so work across it). Finish with a sl and a long yarn end used to sew the legs on.
Hat (only 1 to be worked):
Start in white
1. round: 4 dc in mr (4)
2. round: udt x 4 (8)
3.-4. round: dc in all (8)
5. round: ind x 4 (4)
Change to red
6. round: dc in all (4)
7. round: (dc, inc) x2 (6)
8. round: dc in all sts (6)
9. round: (2 dc, inc) x 2 (8)
10. round: (3 dc, inc) x 2 (10)
11. round: (4 dc, inc) x 2 (12)
12. round: (5 dc, inc) x 2 (14)/p>
13. round: (6 dc, inc) x 2 (16)
14. round: (7 dc, inc) x 2 (18)
15. round: (8 dc, inc) x 2 (20)
16. round: dc in all sts (20)
17. round: pinch piece together and work 8 dc across, finish with a sl and a long yarn end to sew hat on.
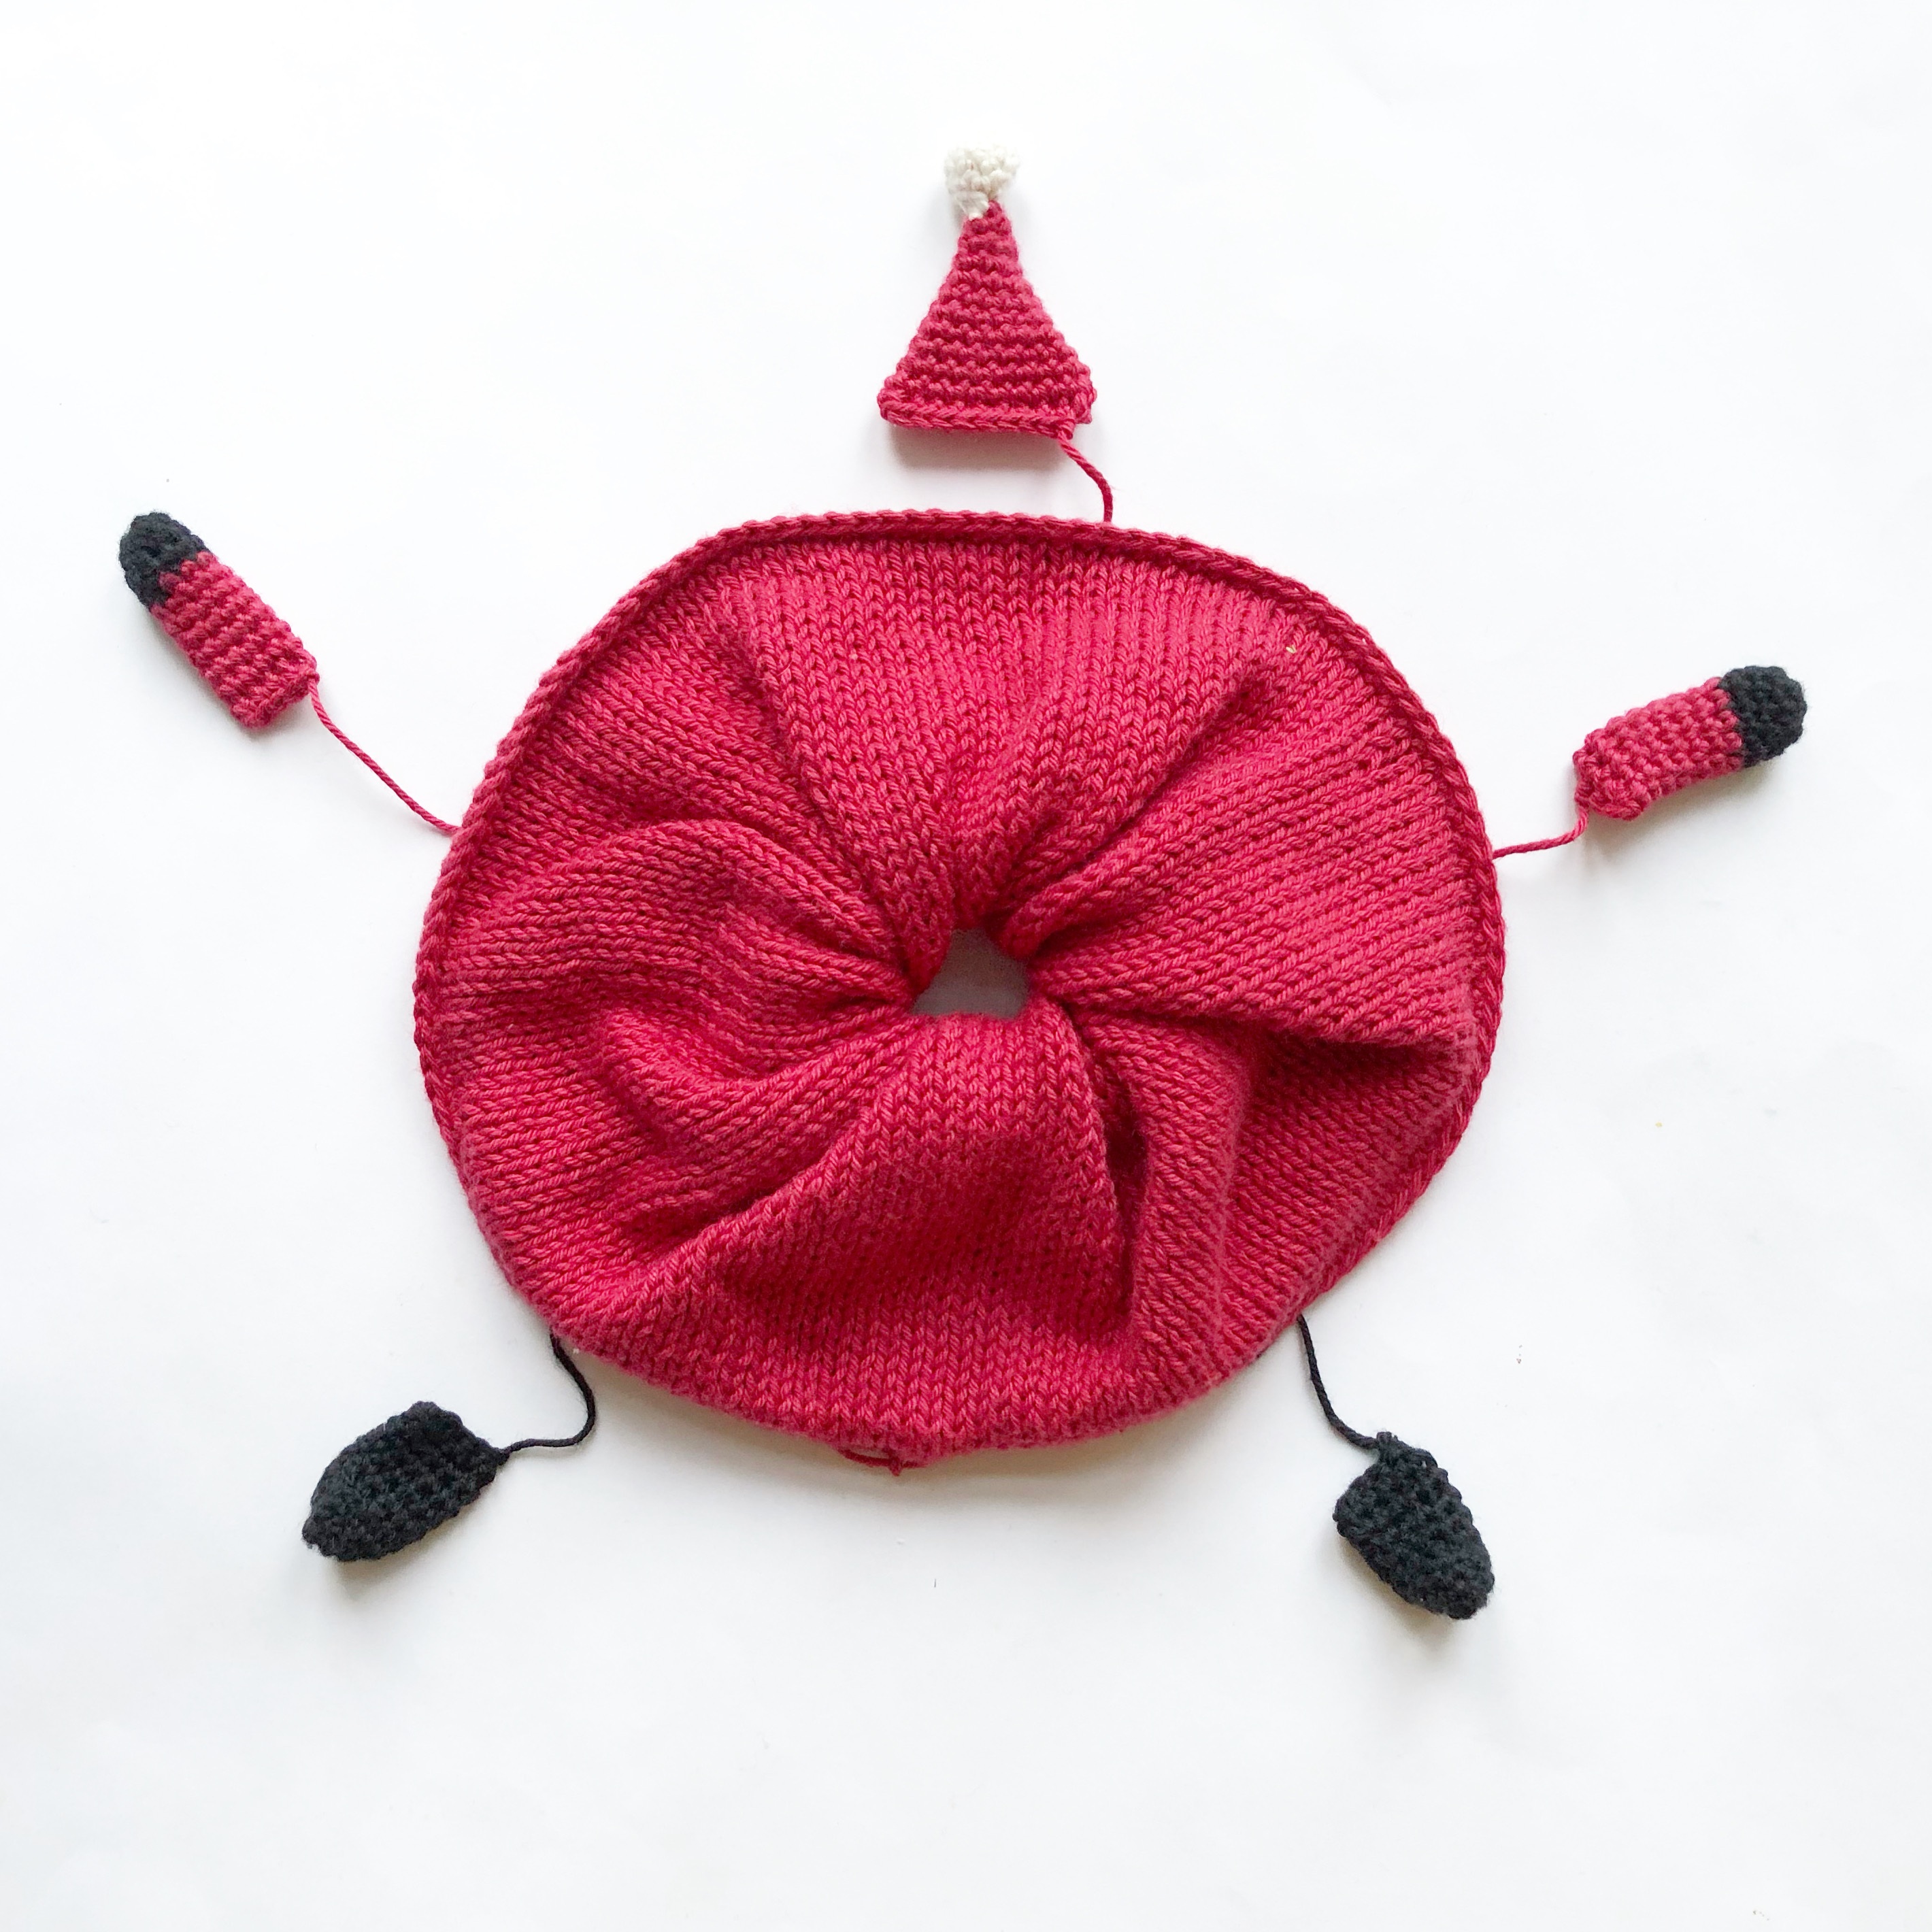
Assembly and finishing
Now sew the arms, legs and hat to the scrunchie. Position them as you wish, possibly as illustrated in the picture above. Make sure they are sewn on tightly so they don't come off when you wrap it in your hair.
Cut the yarns and the scrunchie is ready for Christmas fun!
Designed by: @krea_lea Please share photos of your finished pattern using #twistedsanta and #ritokrea. Please also tag @krea_lea and @ritodk
 Österreich
  Belgique
  Bosna i Hercegovina
  България
  Κύπρος
  Česká republika
  Danmark
  Eesti
Eesti  Føroyar
  Suomi
Suomi  France
  Deutschland
  Ελλάδα
  Kalaallit Nunaat
  Magyarország
  Ísland
  Ireland
  Italia
  Latvija
  Liechtenstein
  Lietuva
  Lëtzebuerg
  Malta
Malta  Isle of Man
  Nederland
  Norge
Norge  Polska
  Portugal
  România
  Slovensko
  Slovenija
  España
  Sverige
  Schweiz
  Ukraїna
  United Kingdom