Free Crochet Pattern: Molly The Mole
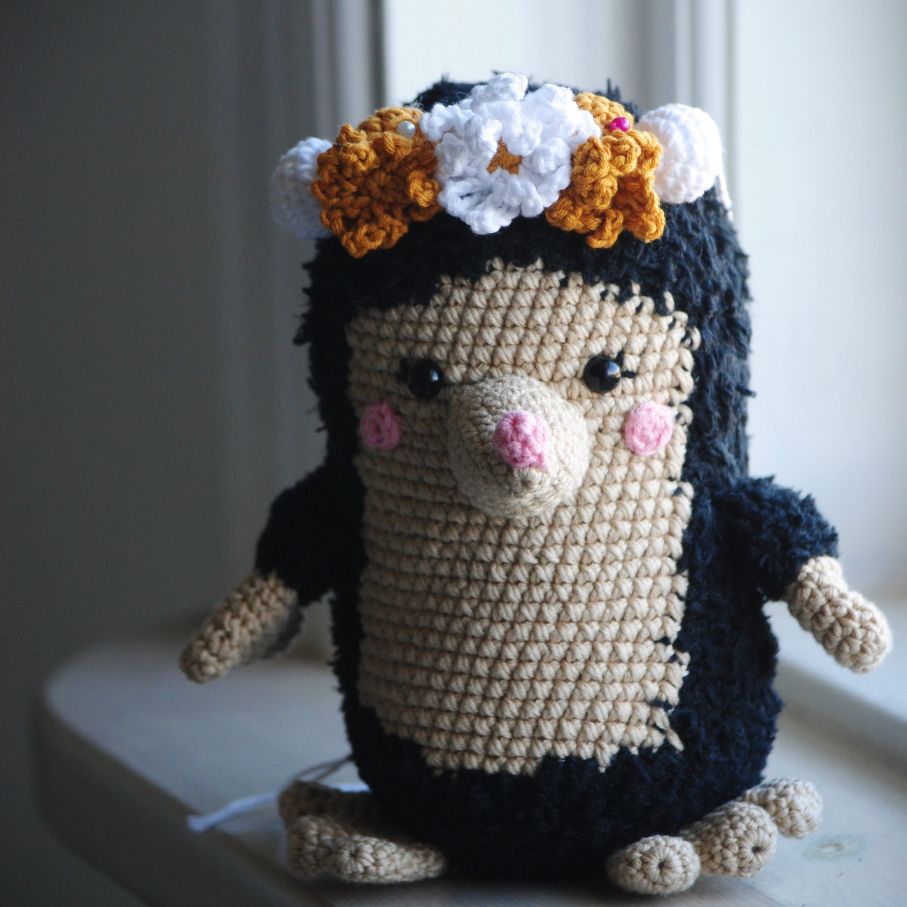
Molly the Mole may be a little difficult to make if you are working with fur yarn for the first time. To make it easier to grab the stitches, I have chosen to use an effect yarn (and therefore double strand) for the body, ie. you use a strand of cotton yarn and a strand of fur yarn. If you are a beginner, I would recommend that you use a dark grey effect yarn to make the stitches more visible, otherwise you may lose some stitches along the way. When you change colour on the body, you may want to avoid breaking the yarn so you have fewer loose yarn ends to keep track of - but it is of course a matter of personal preference.
Molly is crocheted with Infinity Hearts Rose 8/4, which is made from 100% cotton.
The difficulty level is approx. 3/5.
Size
Molly the Mole measures approx. 15cm in height
Tools
- Crochet hook size 2.5 or 3.00mm (depending on the crochet tension)
- Darning needle for finishing
Crochet tension: 26sx24rows=10x10cm
I have crocheted Molly with 2.5mm crochet hook, and on the body I have used double thread. Keep in mind that the needle size is indicative. If you tend to crochet tightly, you can easily go up to 3-3.5mm in size. In order to match the specified amount of yarn, you have to get the crochet tension right.
Yarn consumption
Infinity Hearts Rose 8/4 in the colours:
- 01 black – 20g
- 213 Beige – approx. 1/2 skein of yarn, 17g
- 05 pink – a small amount of leftover yarn
- 02 white – a small amount of leftover yarn
- 190 mustard – a small amount of leftover yarn
Scheepjes Softy in the colour:
- 478 Black – 20g
Other materials
Abbreviations
st= stitch
dc= double crochet
mr= magic ring
ch= chain stitch
sl st= slip stitch
inc=increase (2 dc in the same st)
dec=decrease (join 2 st in 1 st)
( )x6 = repeat number of times
The number in parentheses after each round states the number of stitches that you should have when the round is finished.
You always change yarn colour in the last stitch from the previous round. So when you have 2 loops on the crochet hook and have to grab the yarn (with the new colour) again and pull it through the two loops.
Instructions
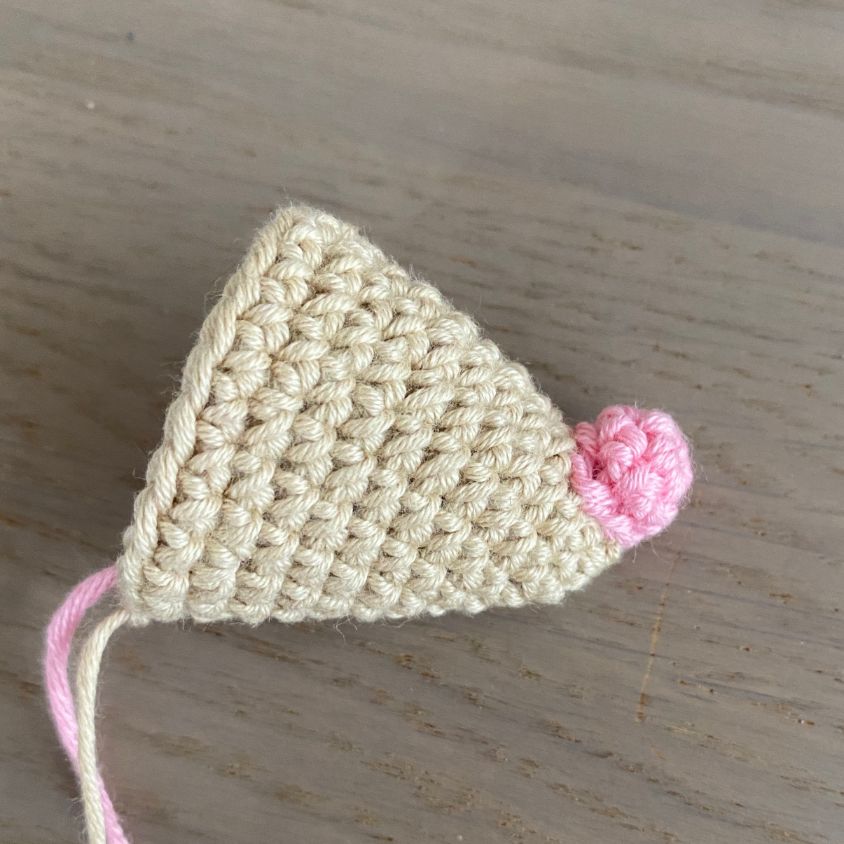
Nose tip (pink) + nose (beige):
Start with pink
Round 1: 6 dc in a mr (6)
Round 2: 1 dc in all 6 st (6)
Finish with 1 sl st, and break the yarn. Leave enough yarn for sewing on the nose later.
Start with beige
Round 1: 6 dc in a mr (6)
Round 2: 1 dc in all 6 st (6)
Round 3: (2 dc, inc) x2 (8)
Round 4: (3 dc, inc) x2 (10)
Round 5: (4 dc, inc) x2 (12)
Round 6: (5 dc, inc) x2 (14)
Round 7: (6 dc, inc) x2 (16)
Round 8: (7 dc, inc) x2 (18)
Round 9-10: 1 dc in all 18 st (18)
Round 11: (2 dc, inc)x6 (24)
Round 12: 1 dc in all 24 dc (24)
Finish with 1 sl st. Break the yarn, leave enough yarn for sewing on the nose later. Stuff the nose with fibrefill. Sew on the nose on round 1 and 2 so the nose point upwards.
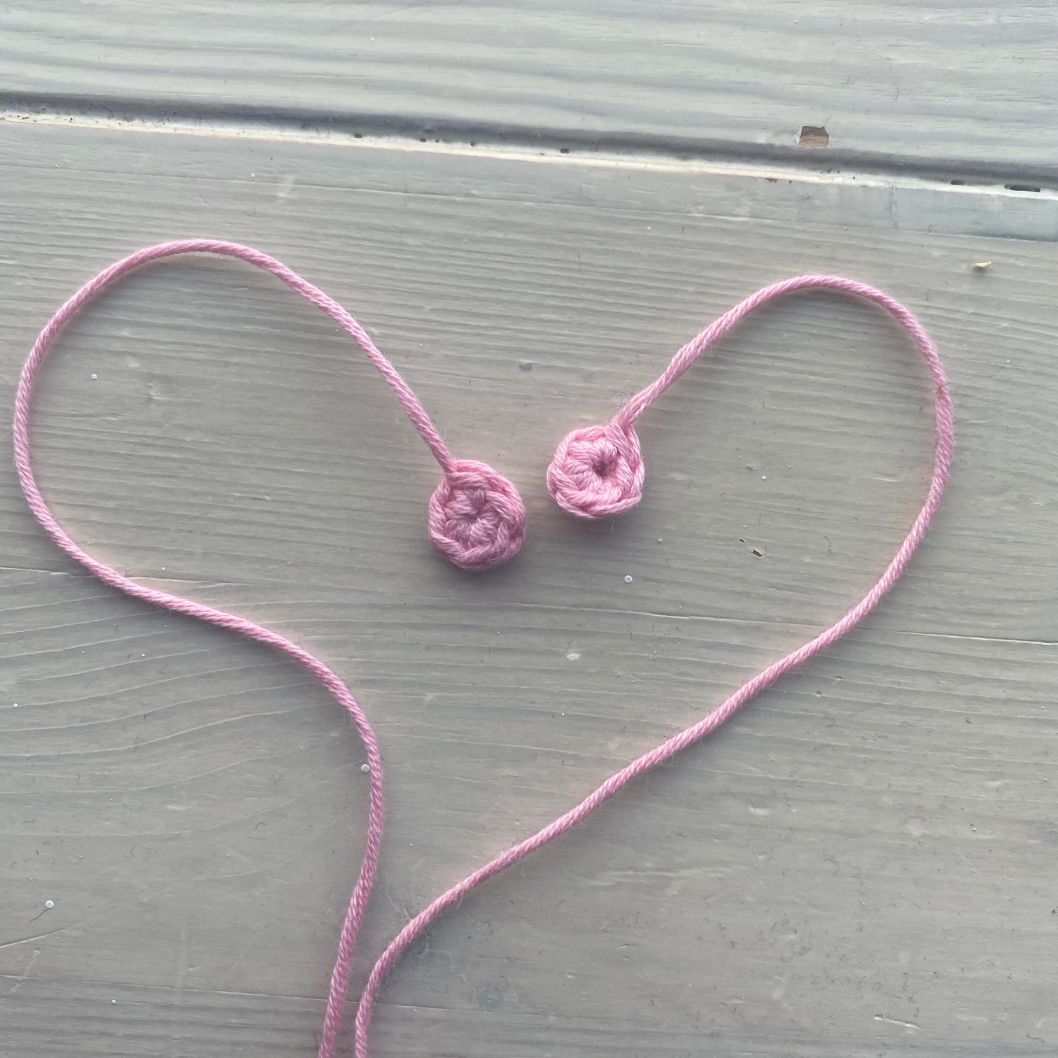
Cheeks (pink), make 2
Round 1: 6 dc in a mr (6)
Finish with 1 sl st. Break the yarn, Leave enough yarn for sewing on the cheeks later.
NOTE!
Before you begin on the body, read and understand the following:
Since there will be a colour change from round 11, all underlined text indicates a colour change to beige and everything that is not underlined should be black.
From round 16, the work will be moved every 4th round with 1 stitch to avoid the belly becoming crooked. The stitch is moved up, which means that on the round before you crochet 1 extra stitch before the new round begins
Head and body (black+beige – double strand for the entire body):
Start with black
Round 1: 6 dc in a mr (6)
Round 2: (1 inc)x6 (12)
Round 3: (1 dc, 1 inc)x6 (18)
Round 4: (2 dc, 1 inc)x6 (24)
Round 5: (3 dc 1 inc)x6 (30)
Round 6: (4 dc, 1 inc)x6 (36)
Round 7: (5 dc, 1 inc)x6 (42)
Round 8: (6 dc, 1 inc)x6 (48)
Round 9: (7 dc, 1 inc)x6 (54)
Round 10: 1 dc in all 54 st (54)
Round 11: 25 dc - change to beige 4 dc - change to black 25 dc (54)
Round 12: 23 dc - 8 dc - 23 dc (54)
Round 13: 21 dc - 12 dc - 21 dc (54)
Round 14: 19 dc - 16 dc - 19 dc (54)
Round 15: 18 dc - 18 dc - 18 dc (54)
Round 16: *Crochet 1 extra stitch, and mark this as the start* 18 dc - 18 dc - 18 dc (54)
Round 17-19: 18 dc - 18 dc - 18 dc (54)
Round 20-40: repeat round 16-19 (a total of 21 rounds). The last round will be a round 16. (54)
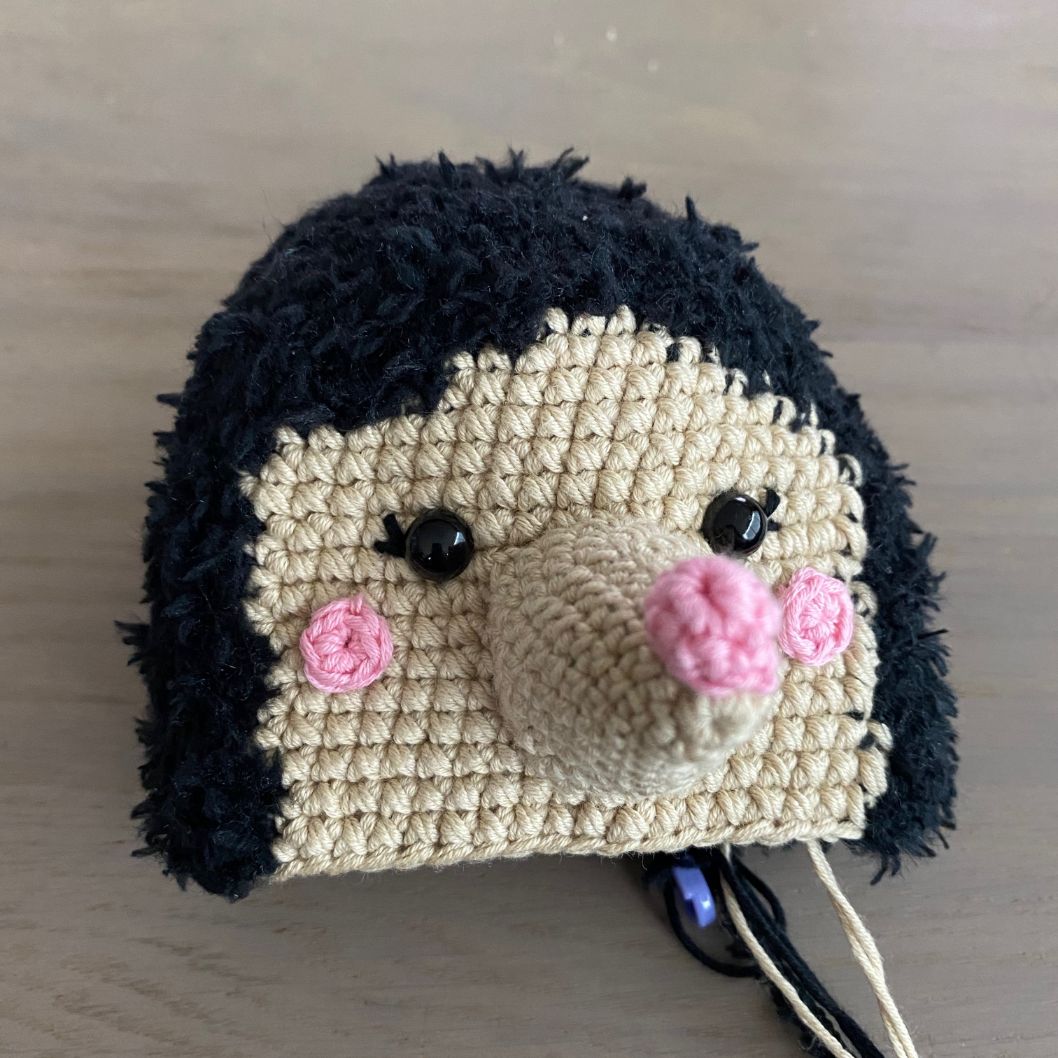
Now, attach eyes, nose and cheeks. Sew the nose in the middle of the belly piece / beige-coloured part from round 17-25. Fix the eyes between rounds 17-18, about 1 stitch from the nose (but place the eyes where you think it will look cute). Before attaching the eyes completely, embroider the eyelashes. Sew on the cheeks slightly diagonally under the eyes at round 19-21. Stuff the body generously with fibrefill.
Round 41: 21 dc - 12 dc - 21 dc (54)
Round 42: 24 dc - 6 dc - 24 dc (54)
You now continue in just black.
Round 43: 1 dc in all 54 st (54)
Round 44: (7 dc, 1 dec) x6 (48)
Round 45: (6 dc, 1 dec) x6 (42)
Round 46: (5 dc, 1 dec) x6 (36)
Round 47: (4 dc, 1 dec) x6 (30)
Round 48: (3 dc, 1 dec) x6 (24)
Round 49: (2 dc, 1 dec) x6 (18)
Stuff the last part generously to make Molly more compact.
Round 50: (1 dc, 1 dec) x6 (12)
Round 51: (1 dec) x6 (6)
Break the yarn. Sew the hole closed and hide the thread in the body.
Foot (beige), make 2:
The feet consist of 3 toes:
Toe 2+3:
Round 1: 8 dc in a mr (8)
Round 2-4: 1 dc in all 8 st (8)
Break the yarn
Next is toe 1:
Round 1: 8 dc in a mr (8)
Round 2-4: 1 dc in all 8 st (8)
You now work from toe 1 to the 2 other toes:
Round 5: insert hook in toe 2 and crochet 1 dc in the next 4 st. Next, put the needle in toe 3, and crochet 1 dc in all 8 st. Then go back to toe 2, crochet 1 dc in the next 4 st, and finally go to toe 1 and crochet 1 dc in the last 8 st (24)
Round 6-7: 1 dc every 24 sts (24)
Round 8: (2 dc, 1 dec.) X6 (18)
Round 9-11: 1 dc in all 18 st (18)
Flatten out the foot (so it flattens out along the toes) and close the foot by crocheting 9 dc through the 2 layers.
Break the yarn and do NOT stuff the feet with fibrefill. Sew them on around the middle of the body at round 45-49. She should be able to keep the balance on her feet.
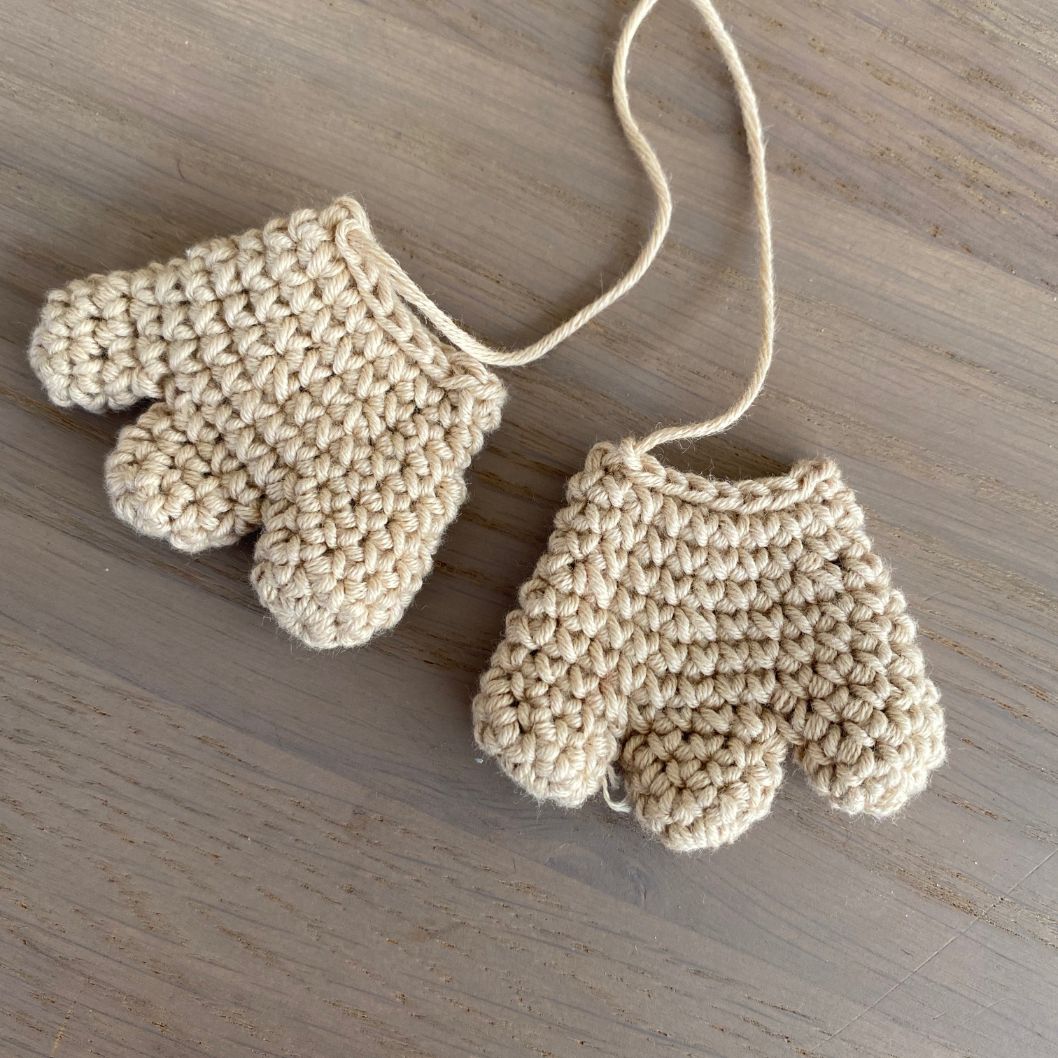
Arms (beige+black), make 2:
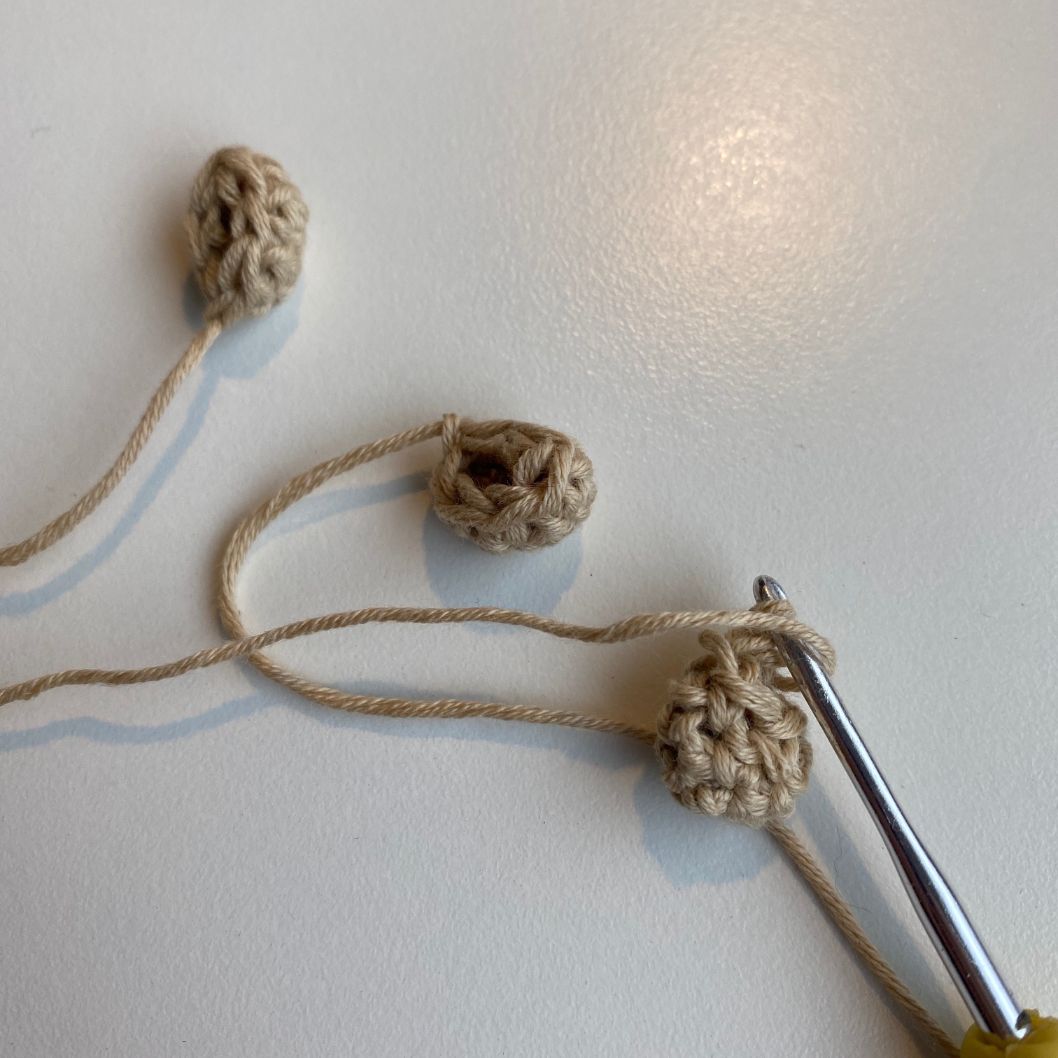
The arms consist of 3 fingers. First, you make the small fingers (finger 2+3):
Start with beige:
Round 1: 6 dc in a mr (6)
Round 2-3: 1 dc in all 6 st (6)
Break the yarn
Next is finger 1, still in beige:
Round 1: 6 dc in a mr (6)
Round 2-4: 1 dc in all 6 st (6)
Now crochet from 1st finger to the other two fingers:
Round 5: insert the hook in finger 2 and crochet 1 dc in the next 3 st. Next, put the needle in finger 3 and crochet 1 dc in all 6 st. Then go back to finger 2, crochet 1 dc in the next 3 st, and finally go to finger 1 and crochet 1 dc in the last 6 st (18)
Round 6-7: 1 dc all 18 sts (18)
Round 8: (4 dc, 1 dec.) X3 (15)
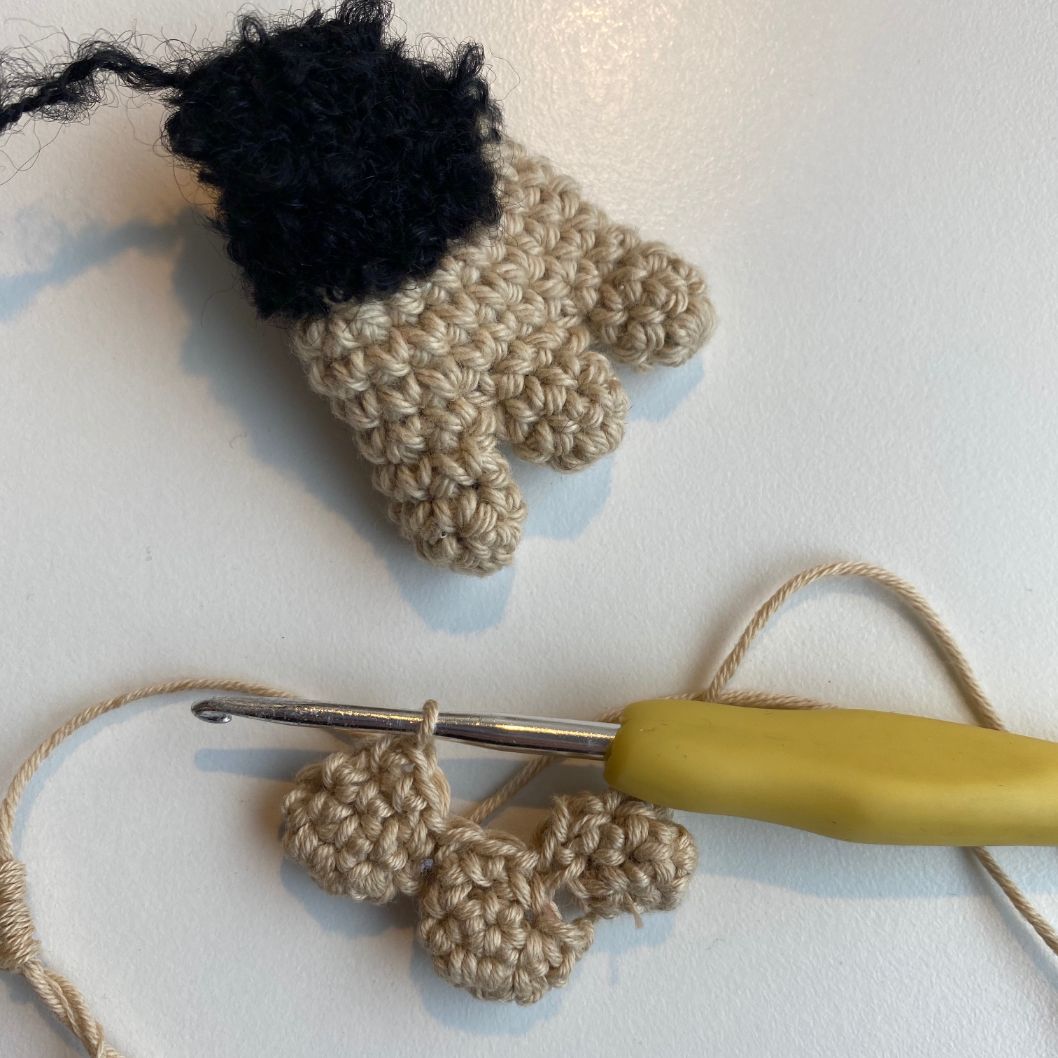
Change to black fur (single thread)
Round 9-10: 1 dc in all 15 sts (15)
Round 11: (3 dc, 1 dec.) X3 (12)
Round 12-13: 1 dc in all 12 sts (12)
Break the yarn and fill the arms lightly with fibrefill. Sew the arms on at an angle on round 26-28 and let finger 1 be in front.
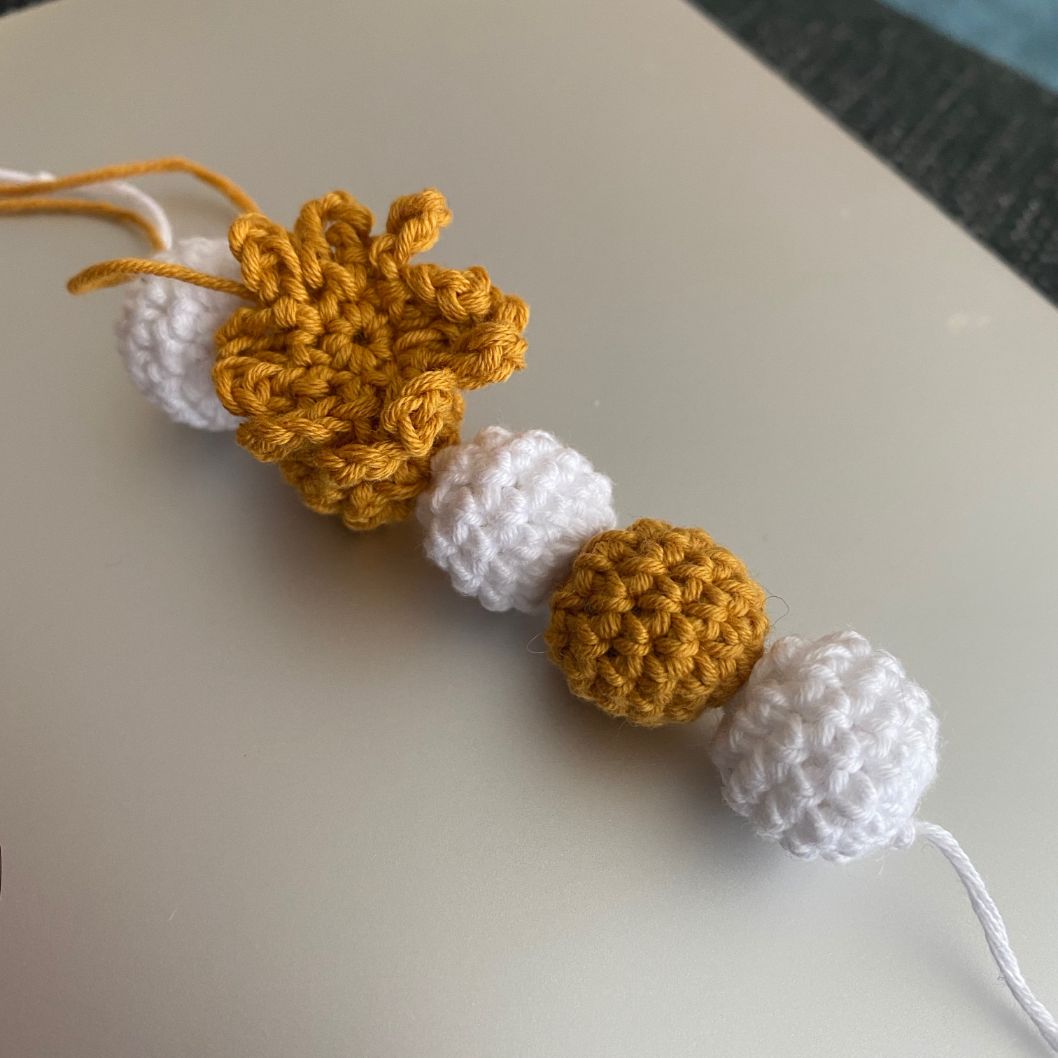
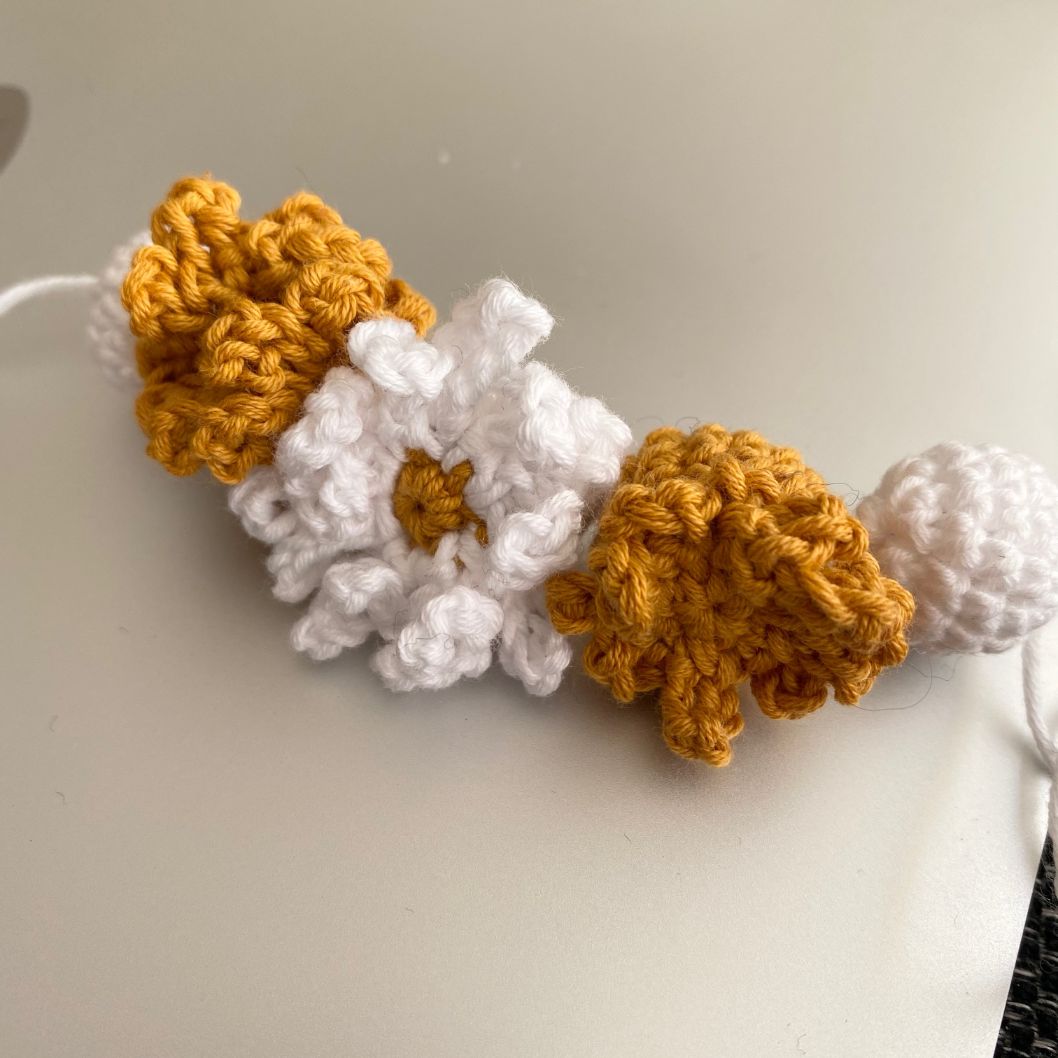
Flower crown (white and mustard):
Start by making 5 little balls, 3 in white and 2 in mustard. Each ball is made as follows and stuffed with cotton wool along the way:
Round 1: 6 dc in a mr (6)
Round 2: (1 inc) x6 (12)
Round 3-5: 1 dc in all 12 dc (12)
Round 6: (1 Dec) x6 (6)
Next, make 1 marguerite-coloured flower (mustard and white).
Round 1: 6 dc in a mr in mustard colour (6)
Switch to white.
Round 2: make 10 ch, and 1 sl st in first st. Then make 10 ch which you join with 1 sl st in the same st. You now have 2x10 ch in the first stitch. Then move the work with 10 ch and 1 sl st in next st (10 ch and 1 sl tr in same st). You do this the whole round. (120)
Next, make 2 mustard-coloured flowers:
Round 1: 6 dc in a mr (6)
Round 2: make 6 ch, 1 sl st in the first st, 6 ch, 1 sl st in the same st. Follow the same work as the first flower. (72)
Now, you join the ends of the flower crown. Take a long white strand of yarn and bring it right through the middle of all the balls so that they sit symmetrically one after the other. Then sew the flowers on the inner 3 balls. Sew the crown to the top of the head with the white strand that you used to join the balls.
Voila
Your very own Molly the Mole is now finished. If you are on social media, you are welcome to share your result with #mollythemole #ritohobby - and feel free to also tag me, the designer (@ homemade.by.frost) on Instagram, so I can see your version of Molly.
Design by: @homemade.by.frost (Amalie Frost)
 Österreich
  Belgique
  Bosna i Hercegovina
  България
  Κύπρος
  Česká republika
  Danmark
  Eesti
Eesti  Føroyar
  Suomi
Suomi  France
  Deutschland
  Ελλάδα
  Kalaallit Nunaat
  Magyarország
  Ísland
  Ireland
  Italia
  Latvija
  Liechtenstein
  Lietuva
  Lëtzebuerg
  Malta
Malta  Isle of Man
  Nederland
  Norge
Norge  Polska
  Portugal
  România
  Slovensko
  Slovenija
  España
  Sverige
  Schweiz
  Ukraїna
  United Kingdom