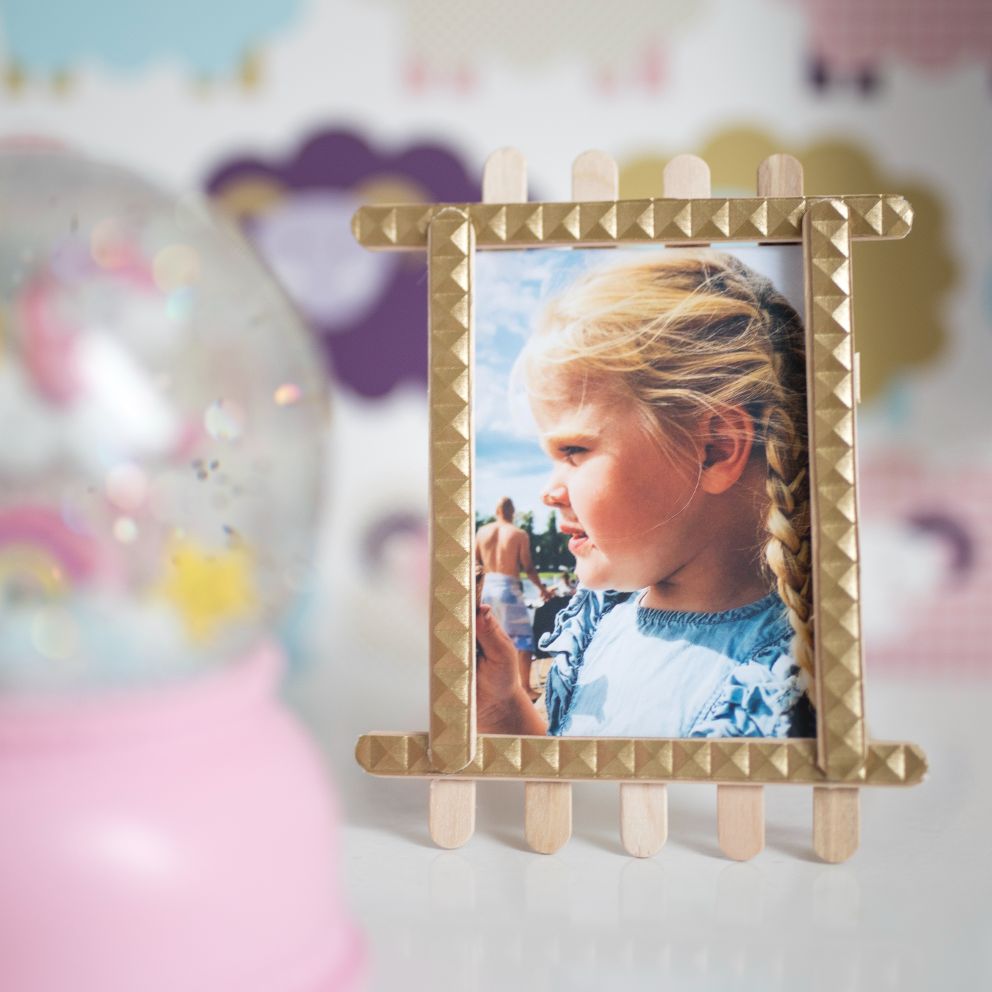
DIY Guide: Picture Frame Made With Ice Lolly Sticks
Size
Approx. 11.5 x 14.5cm
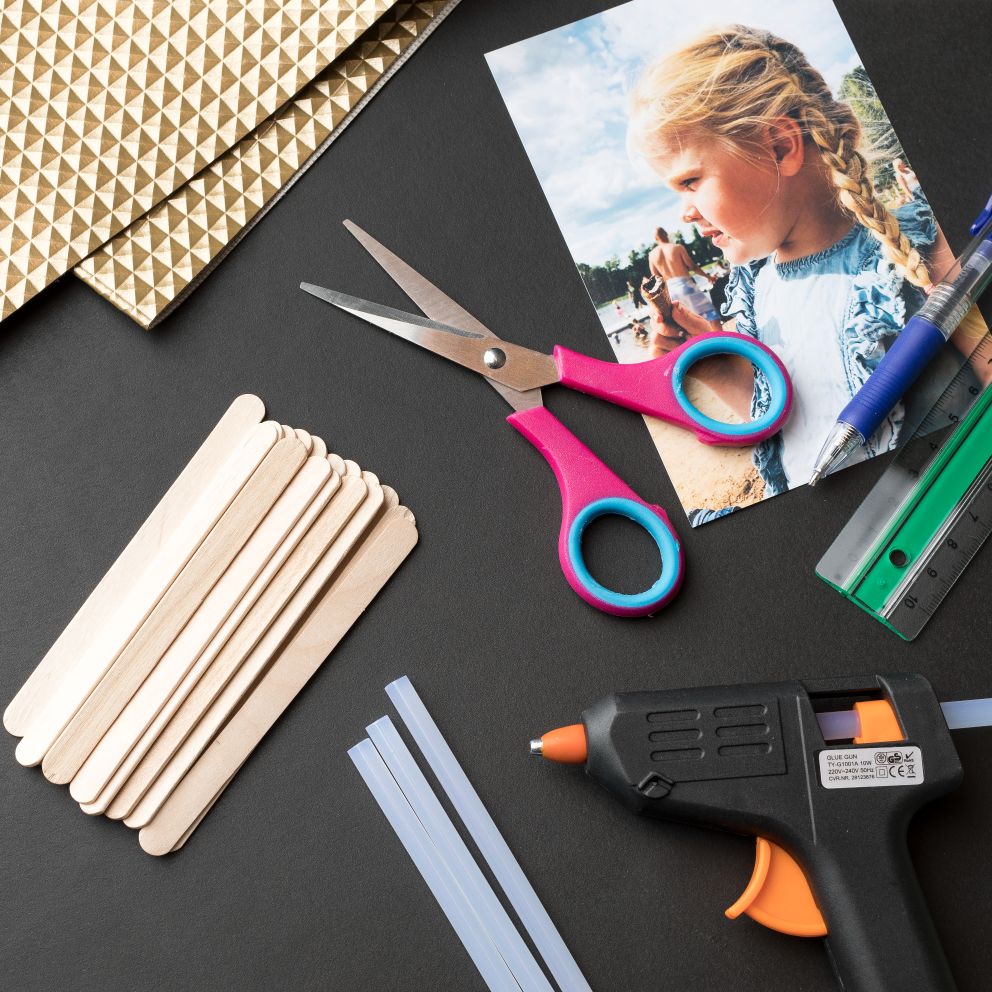
Materials
- Ice Lolly Sticks - 17 pcs
- Faux Leather
- A Photo
Tools
Instructions
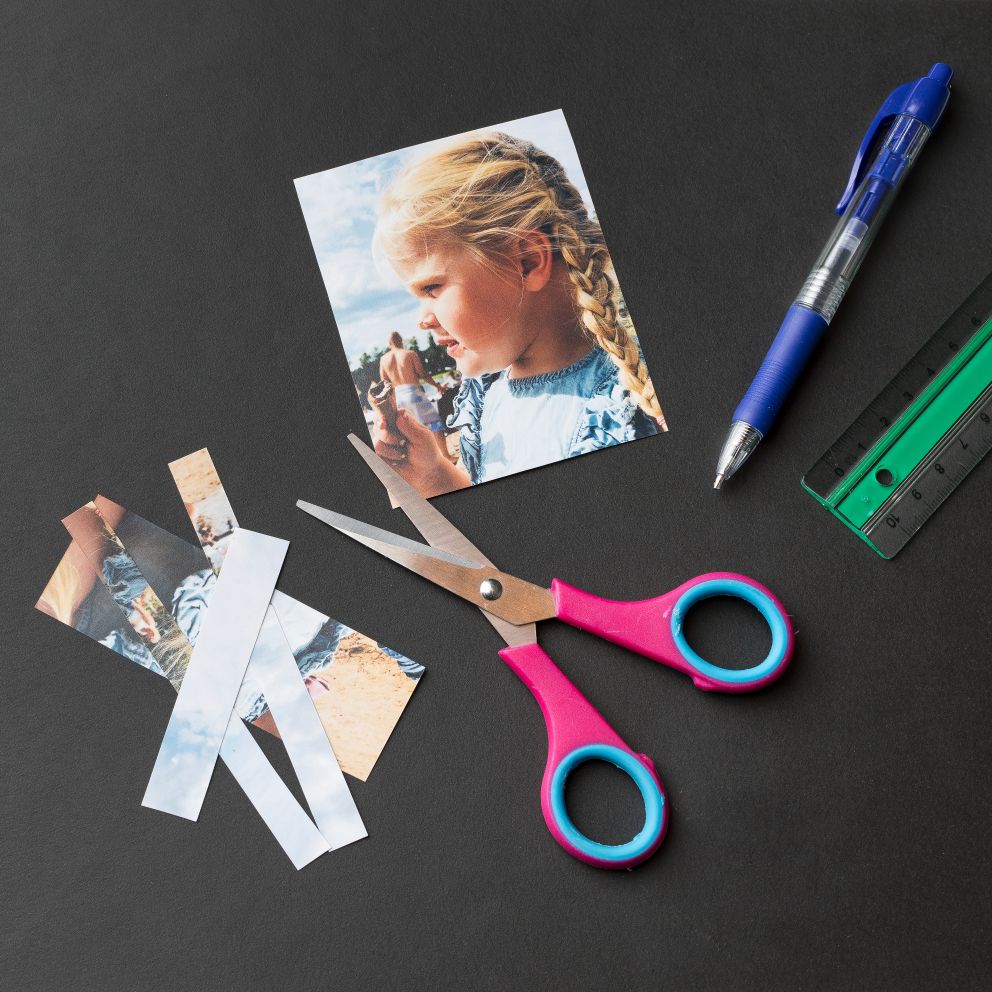
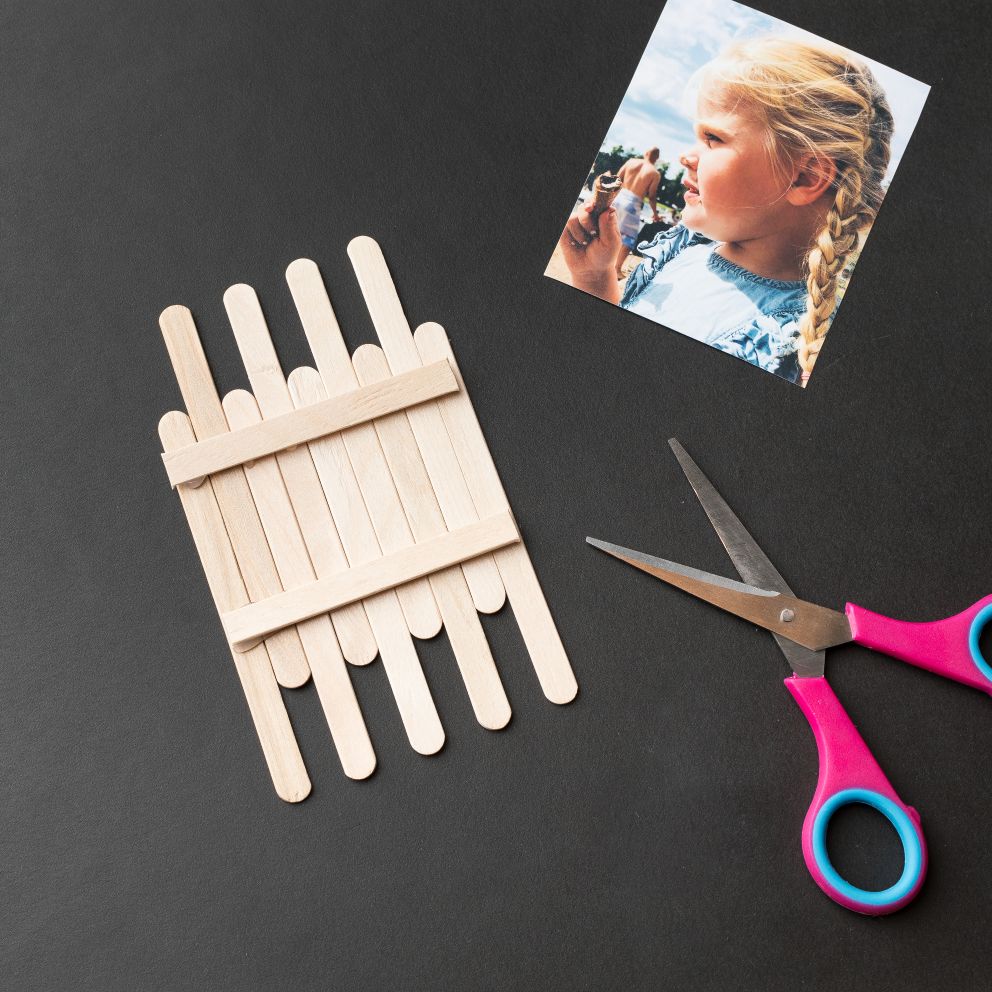
Cut the photo so it measures 8x10cm
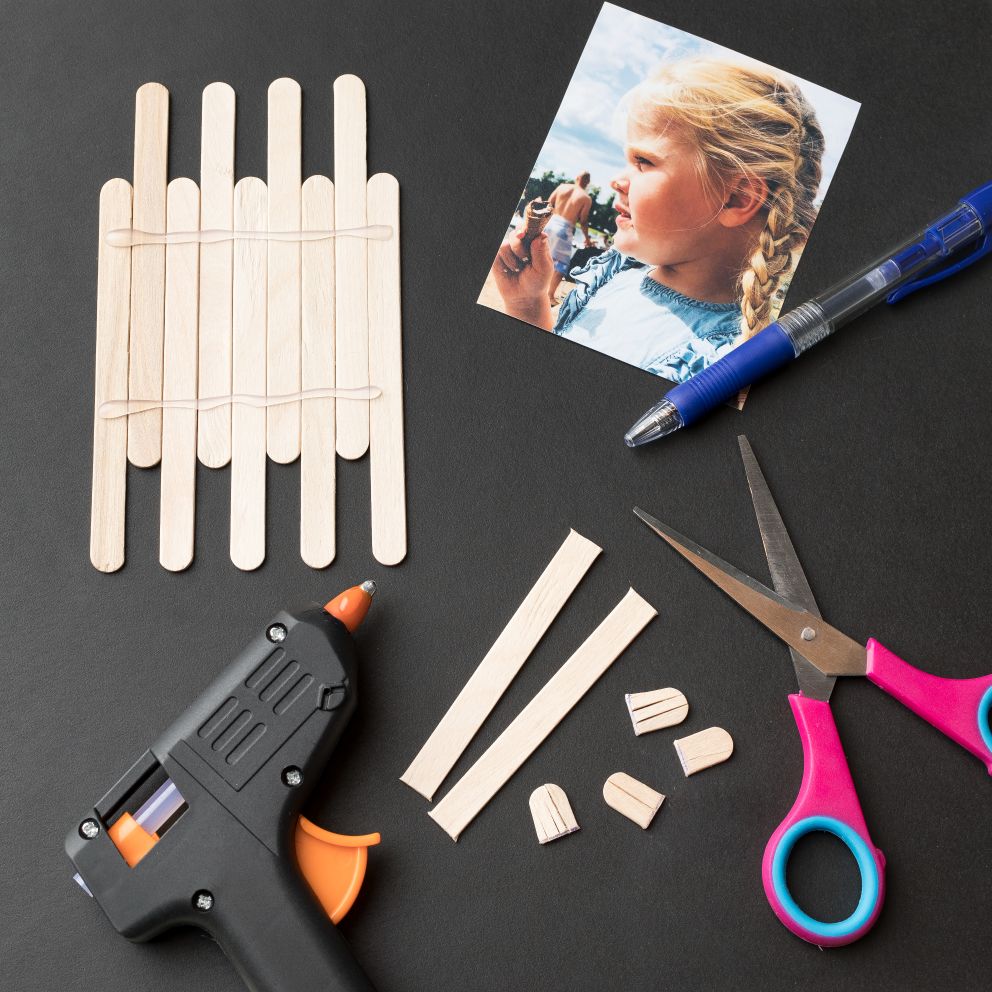
Place 9 ice lolly sticks next to each other and shift them so that 4 stick out on the top and 5 on the bottom. Make sure the photo + 2 ice lolly sticks (horizontal) can fit on it and still have visible ends at the top and bottom.
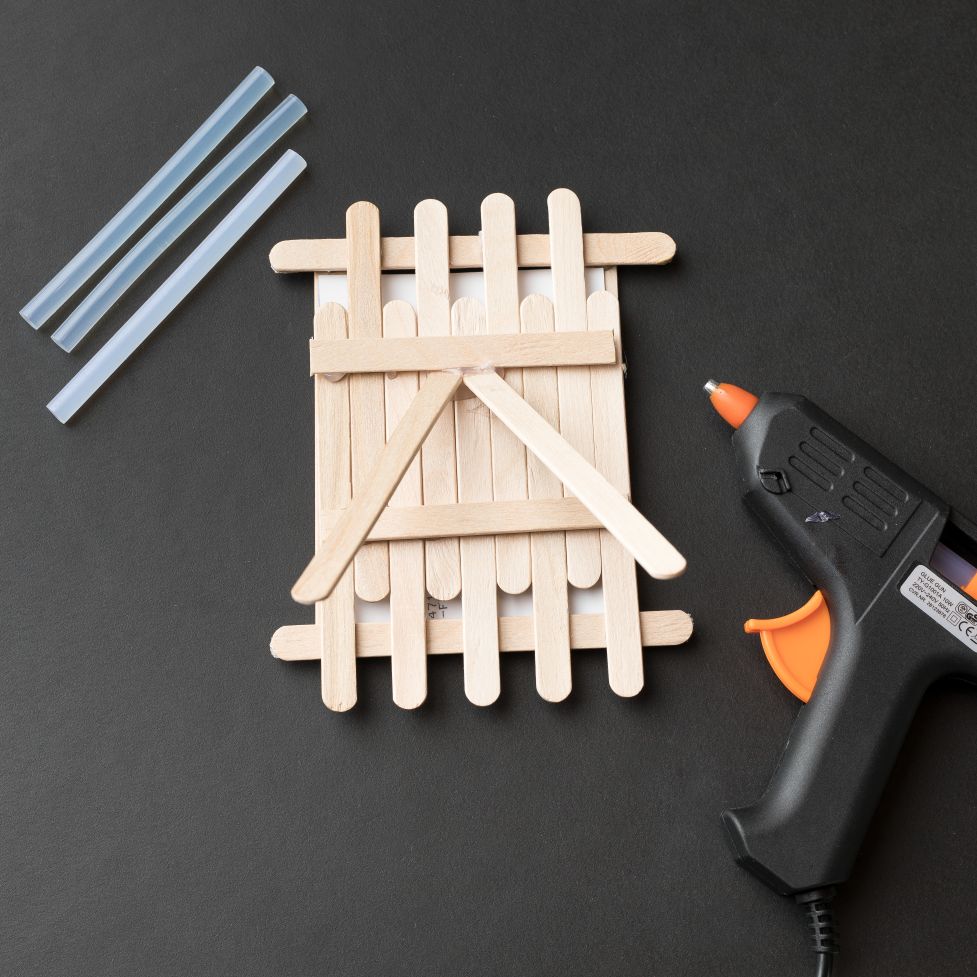
Place two ice lolly sticks across the others and use a pen to mark the piece where they stick out over the edge at both ends and cut it off.
Glue on the two ice lolly sticks using the glue gun
The first part of the back is now done.
Turn the frame around with the back side facing down.
Place the photo in the middle. Place 2 ice lolly sticks across the other sticks very close to the photo so that they form the upper and lower part of the frame. Remove the photo again and mark with a ballpoint pen where you are going to glue on the ice lolly sticks.
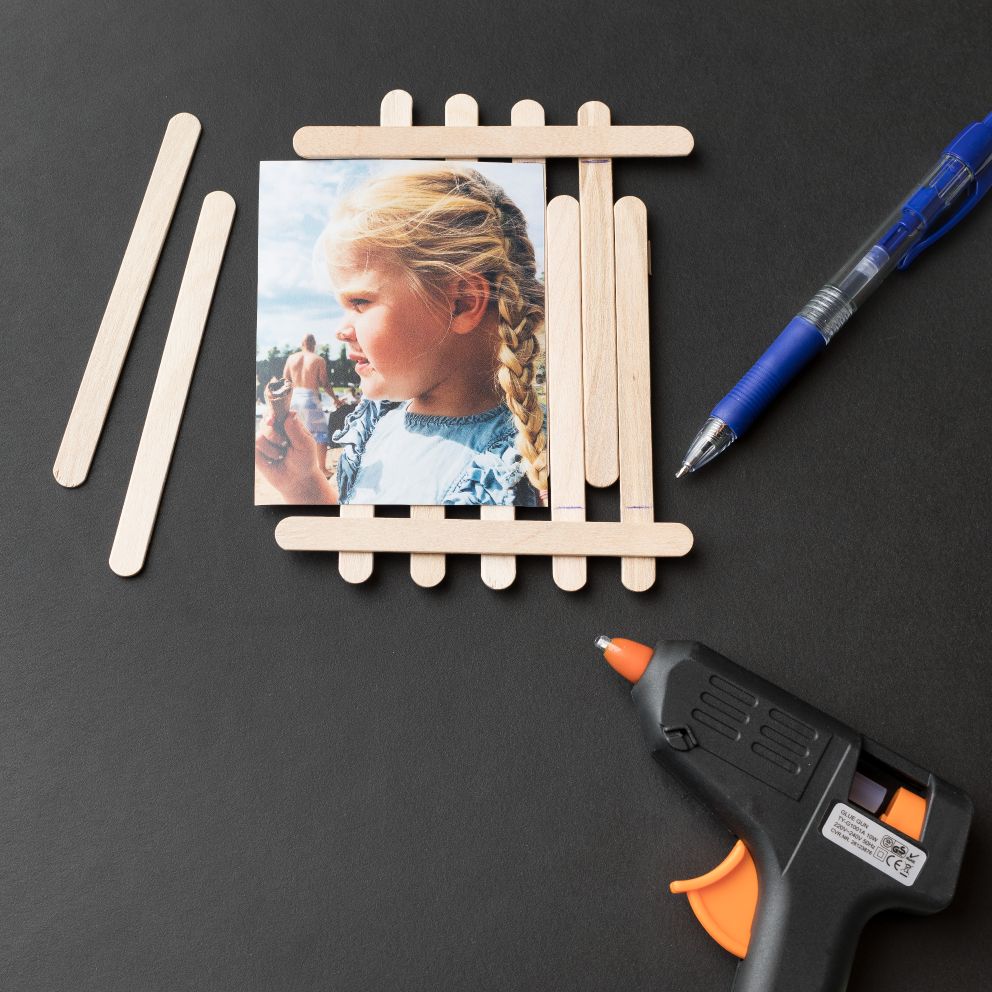
Glue the two ice lolly sticks together using the glue gun. Cut 4 pieces of pyramid fabric in the same size as the ice lolly sticks.
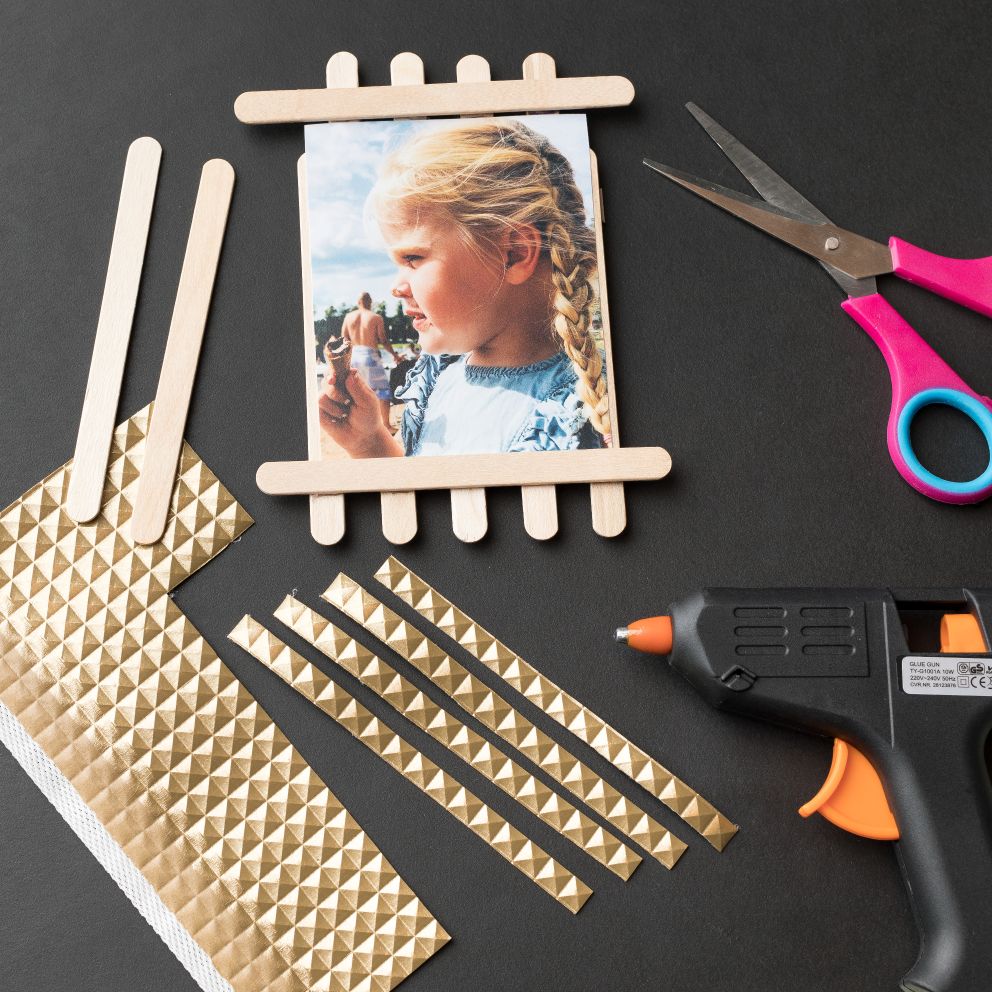
Glue the 4 pieces of fabric onto the two ice lolly sticks that form the top and bottom of the frame as well as on 2 extra sticks.
Then glue the two ice lolly sticks on so that they form the sides of the frame. You can now insert the photo into the side of the frame.
Cut off any excess fabric from the ends of the ice lolly sticks.
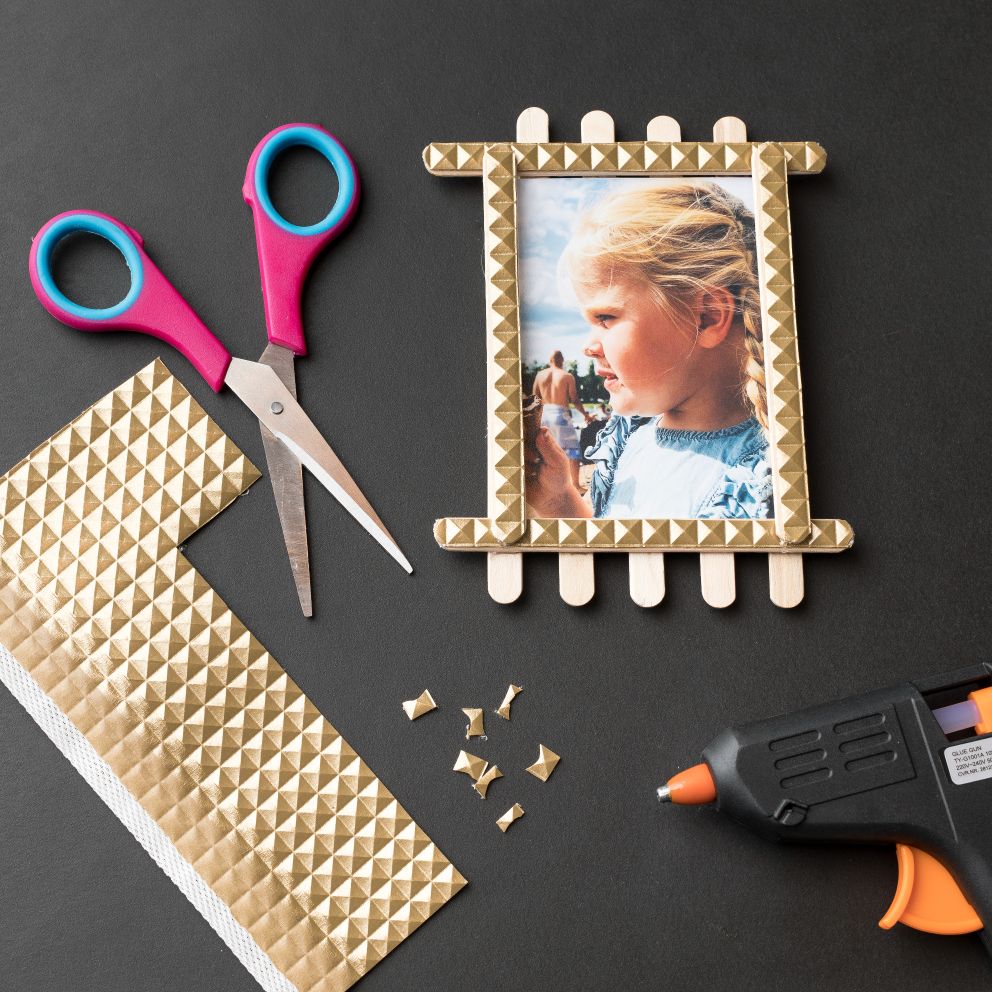
Your frame is now finished.
 Österreich
  Belgique
  Bosna i Hercegovina
  България
  Κύπρος
  Česká republika
  Danmark
  Eesti
Eesti  Føroyar
  Suomi
Suomi  France
  Deutschland
  Ελλάδα
  Kalaallit Nunaat
  Magyarország
  Ísland
  Ireland
  Italia
  Latvija
  Liechtenstein
  Lietuva
  Lëtzebuerg
  Malta
Malta  Isle of Man
  Nederland
  Norge
Norge  Polska
  Portugal
  România
  Slovensko
  Slovenija
  España
  Sverige
  Schweiz
  Ukraїna
  United Kingdom