Reflective Animal Keychains
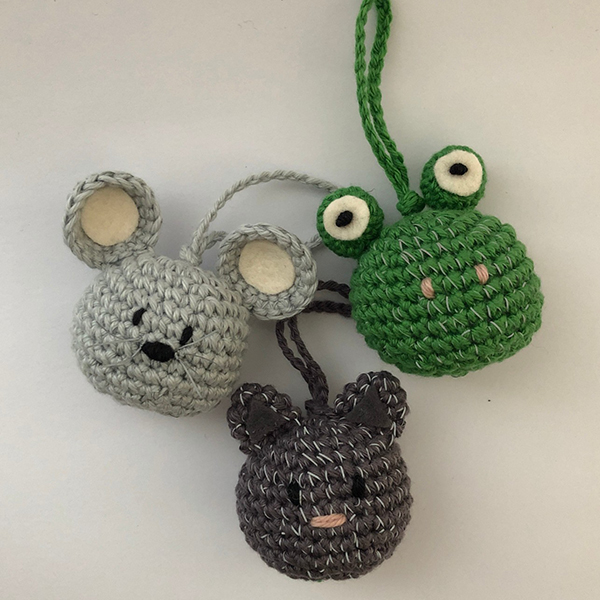
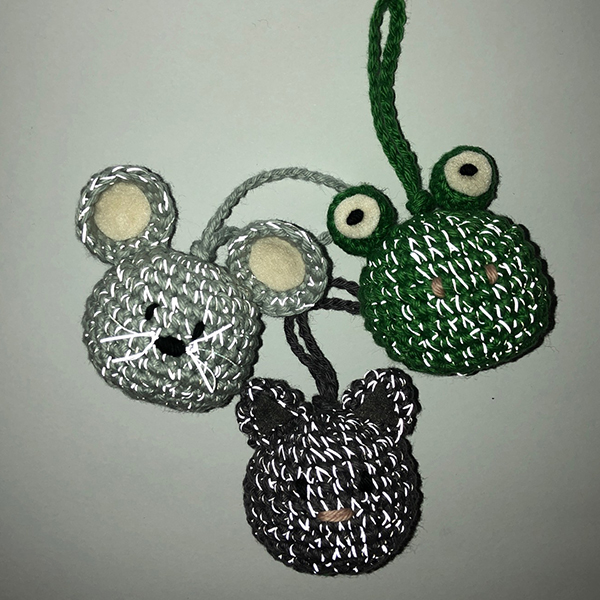
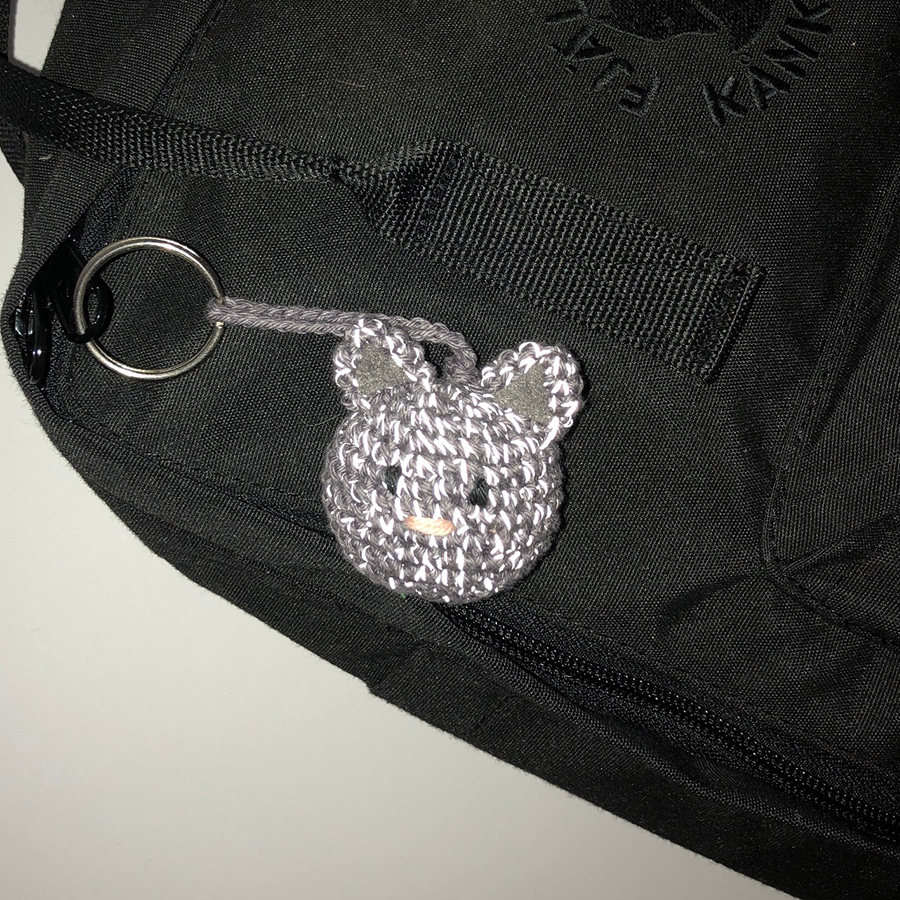
Wearing reflective materials can increase your chance of being seen in traffic by up to 85%! This free guide will teach you to crochet these lovely little reflective animals that can provide that little extra bit visibility in traffic. The animal heads can be used as keychains, decorations for the school bag, the stroller etc. The little animal faces are not only cute, but also practical, as light is reflected in the reflective thread, which offers you that extra visibility when you move in traffic during night-time. The animals are crocheted in Mayflower Cotton 8/4, but can also be made in Infinity Hearts Rose 8/4 or other brands of cotton yarn in thickness of 8/4.
With this crochet pattern, you can make up to 5 of each animal, since you only need approx. 10 grams of yarn for each animal head.
Measurements: approx. 6mm in diameter
Materials: Mayflower Cotton 8/4 Cotton Yarn
Yarn consumption:
- approx. 10 grams of the colour 1476 Grass Green
- approx. 10 grams of the colour 1440 Light Grey
- approx. 10 grams of the colour 1441 Grey Purple
- some leftover yarn in black and pink for the eyes and noses
Other materials:
Crochet hook: no 3.00mm
Abbreviations:
- Magic ring (mr)
- Stitch (s)
- Chain (ch)
- Slip stitch (sl st)
- Double crochet (dc)
- Increase (2 dc in one s)
- Decrease (2 dc tog)
- Round (rnd)
- Repeat what is stated throughout the entire round. (*...*)
Instructions
The heads for all the animals are made like this:
Crochet with double strand so that you have a strand of the cotton yarn and a strand of reflective thread.
Rnd 1: 6 dc in mr (6)
Rnd 2: 2 dc in each s (12)
Rnd 3: *1 dc, 2 dc in one s* (18)
Rnd 4: *2 dc, 2 dc in one s* (24)
Rnd 5: *3 dc, 2 dc in one s* (30)
Rnd 6-10: 1 dc in each s (5 rounds) (30)
Rnd 7: *3 dc, 2 dc tog* (24)
Rnd 8: *2 dc, 2 dc tog* (18)
Rnd 9: *1 dc, 2 dc tog* (12)
Add filling
Rnd 10: *2 dc tog* (6)
Sew the last stitches together and weave in.
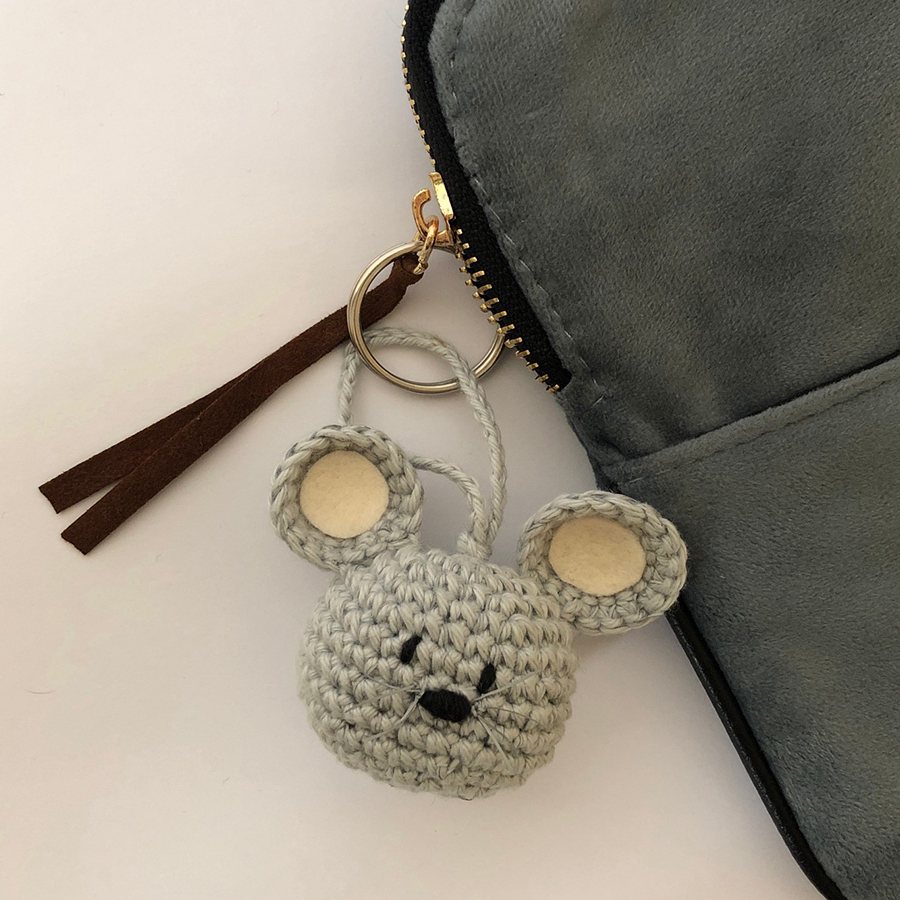
Mouse
Ears (make 2):
Rnd 1: 6 dc in mr (6)
Rnd 2: 2 dc in each s (12)
Rnd 3: *1 dc, 2 dc in one s* (18)
Rnd 4: 1 dc in each s (18), sl st
Cut the yarn and leave a long tail for sewing.
Cut out two pieces of beige-coloured felt to fit on the inside of the ear and glue it on. I have chosen to glue it on the wrong side, so the mouse also looks nice when you look at it from behind.
Embroider eyes and nose on the head and sew on the ears. Cut a few pieces of the reflective thread to make whiskers.
Cat
Ears (make 2):
Rnd 1: 4 dc in mr (4)
Rnd 2: 2 dc in each s (8)
Rnd 3-4: 1 dc in each s (2 rounds)
Squeeze the opening shut and crochet the stitches together in pairs. Cut the yarn and leave a long tail for sewing.
Cut out two pieces of grey felt to fit the inside of the ear and glue it on.
Embroider the eyes and nose on the head and sew on the ears.
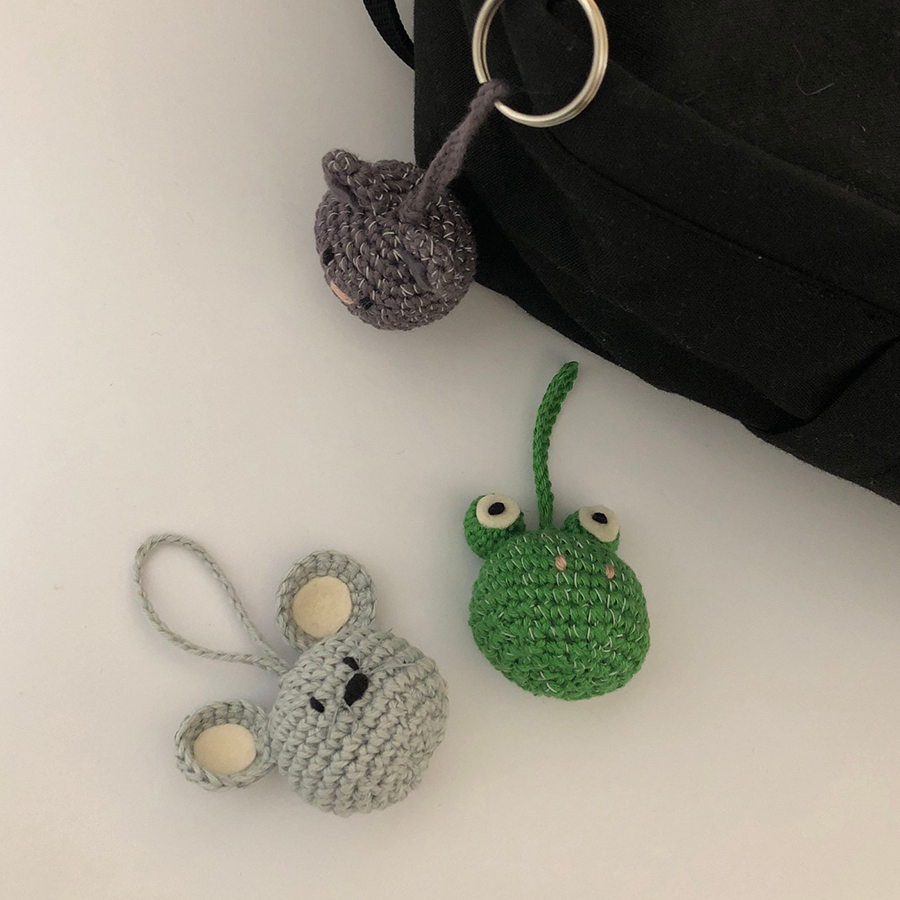
Frog
Ears (make 2):
Rnd 1: 6 dc in mr (6)
Rnd 2: 2 dc in each s (12)
Rnd 3-4: 1 dc in each s (2 rounds) (12)
Add filling to the eyes
Rnd 5: *2 dc tog* (6)
Sew the last stitches together and weave in, leaving a long tail for sewing.
Cut two pieces of beige-coloured felt to fit the size of the eye, glue them on the eyes and then embroider with black on the felt to create a pupil.
String
The string is made using chain stitches. Cast on a number of chain stitches depending on how long you want the string to be. The crochet pattern uses 50 chain stitches.
Feel free to use #ritokrea and #loverito when sharing photos of your projects on social media, so we can see the final result.
Design: Winthersdesign (Natascha Winther Olsen)
 Österreich
  Belgique
  Bosna i Hercegovina
  България
  Κύπρος
  Česká republika
  Danmark
  Eesti
Eesti  Føroyar
  Suomi
Suomi  France
  Deutschland
  Ελλάδα
  Kalaallit Nunaat
  Magyarország
  Ísland
  Ireland
  Italia
  Latvija
  Liechtenstein
  Lietuva
  Lëtzebuerg
  Malta
Malta  Isle of Man
  Nederland
  Norge
Norge  Polska
  Portugal
  România
  Slovensko
  Slovenija
  España
  Sverige
  Schweiz
  Ukraїna
  United Kingdom